
We provide options to customize the Helply widget trigger to better fit your website's design and improve usability. This includes adjusting the button's size, position, and style.
Step 1: Customize Widget Trigger Style
You can use the following CSS selector to adjust the style of the widget trigger button. For example, to change its color and size, use the #helply-agent-root-container::part(helply-agent-trigger) selector:
#helply-agent-root-container::part(helply-agent-trigger) {
    color: #22c55e; /* Update icon color */
    min-width: 44px; /* Update size with min-width and height*/
    height: 44px;
}
Step 2: Customize Widget Trigger Offsets
To adjust the space between the widget trigger and the page edges (horizontal and vertical offsets), use the Horizontal Offset (px) and Vertical Offset (px) fields available under the Trigger section on the AI Agent's configure page.
This approach is recommended over directly modifying CSS styles for offsets, as it ensures proper alignment of the widget and trigger.
Here's the settings page:
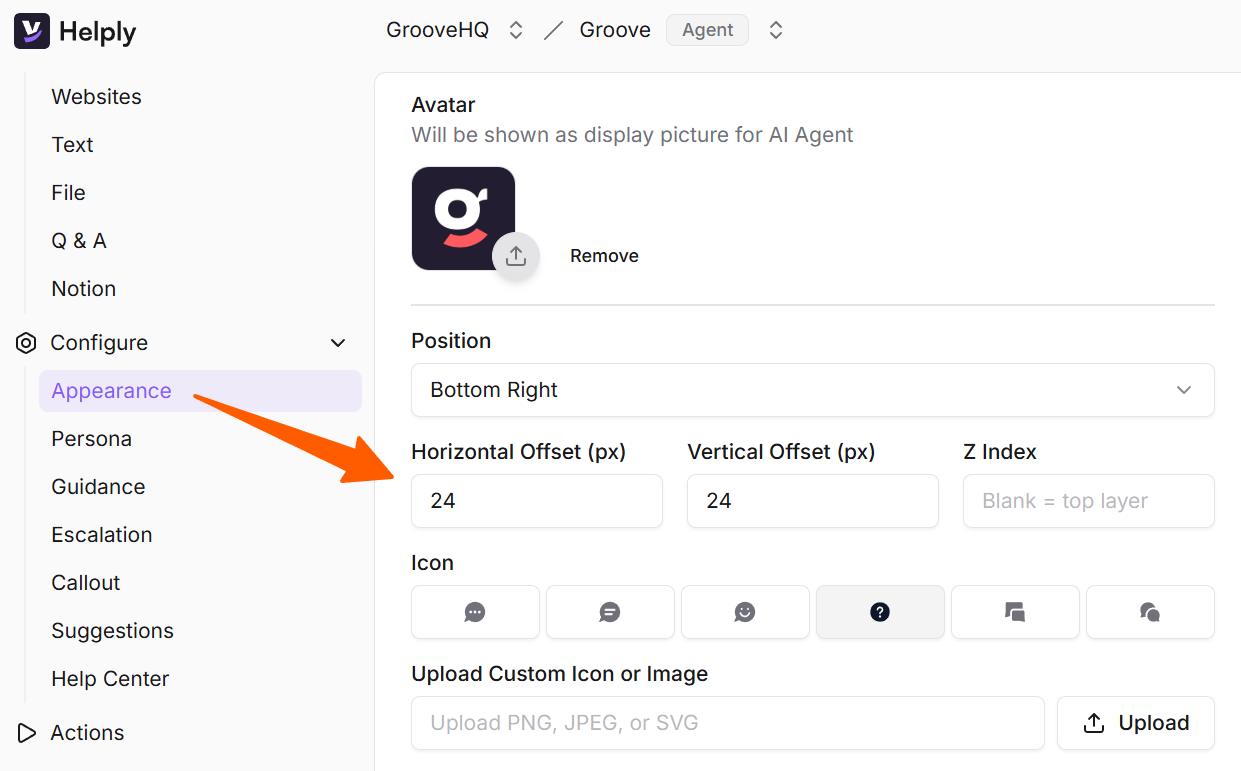
These fields allow you to fine-tune the placement of the widget trigger to fit your page layout better.