
Let's do it together!
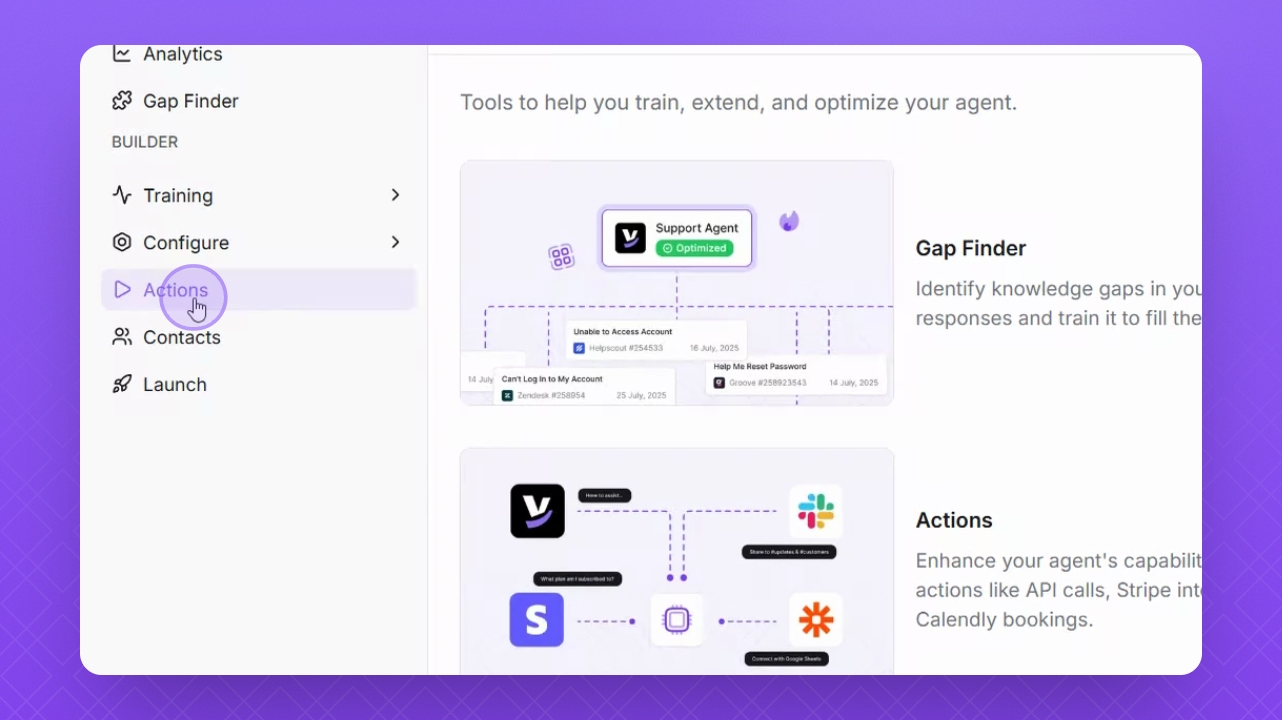
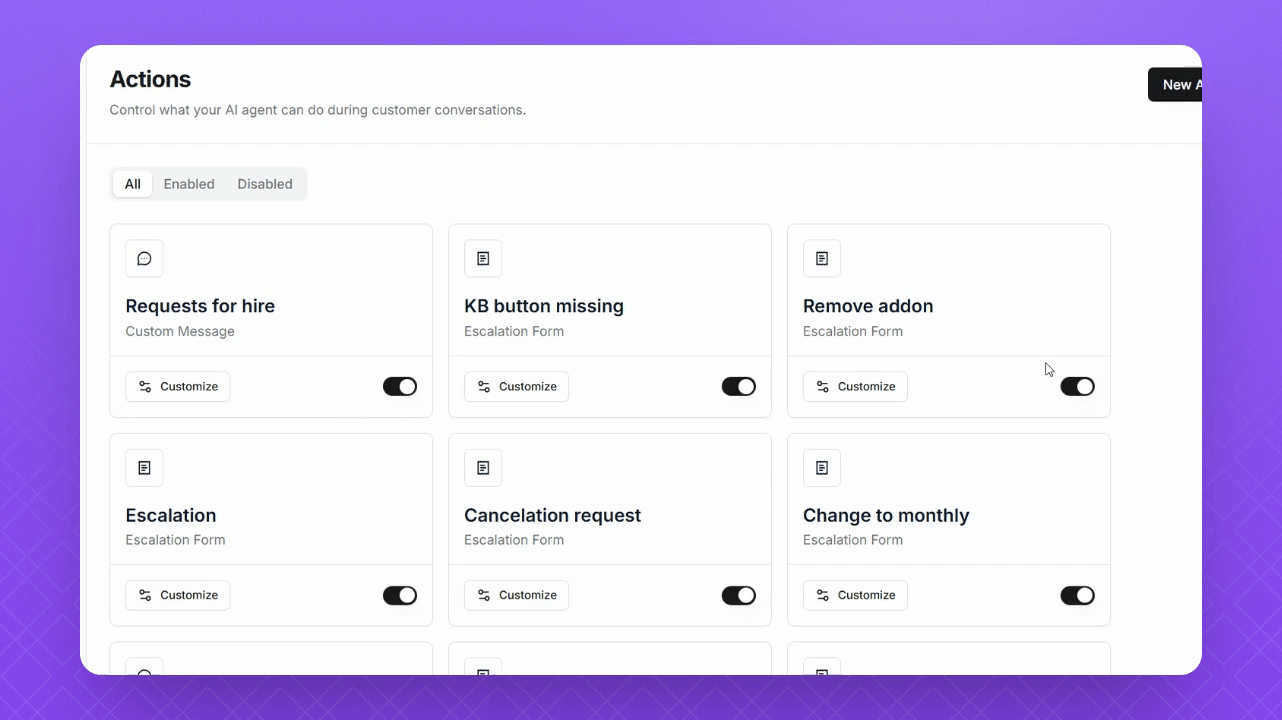
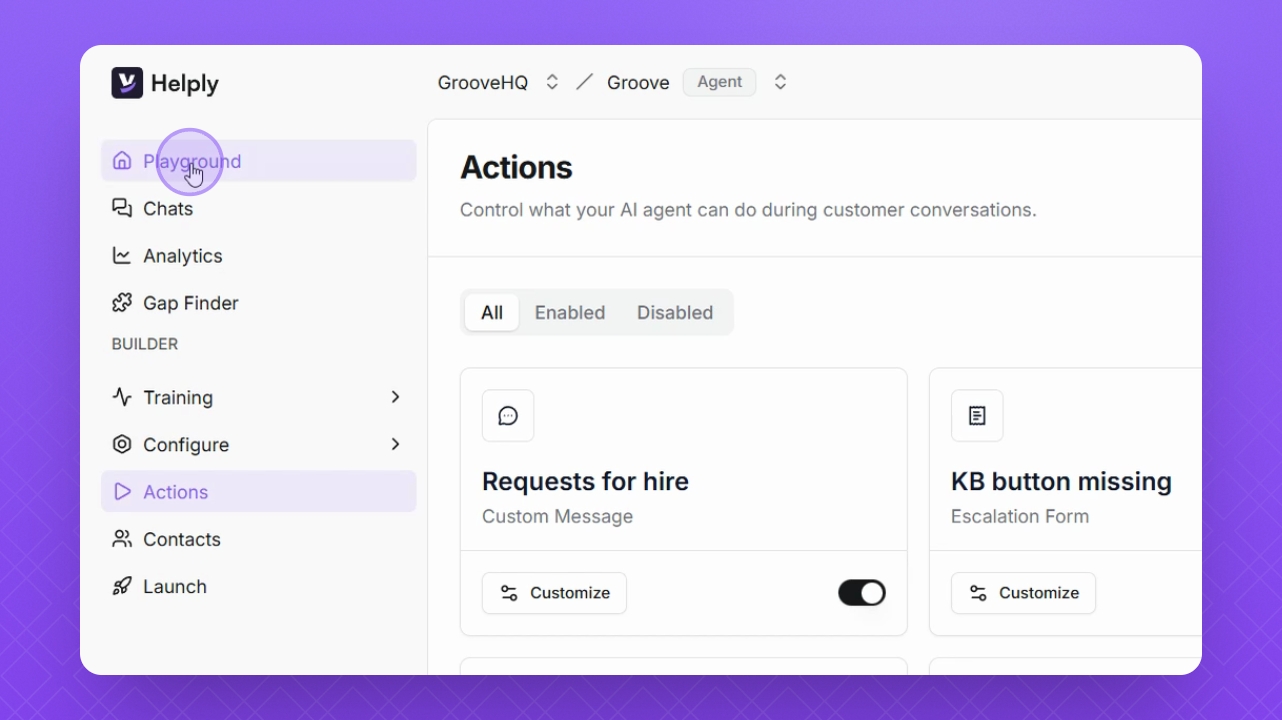
Step 1: Access Actions
Navigate to the Actions section on the left.
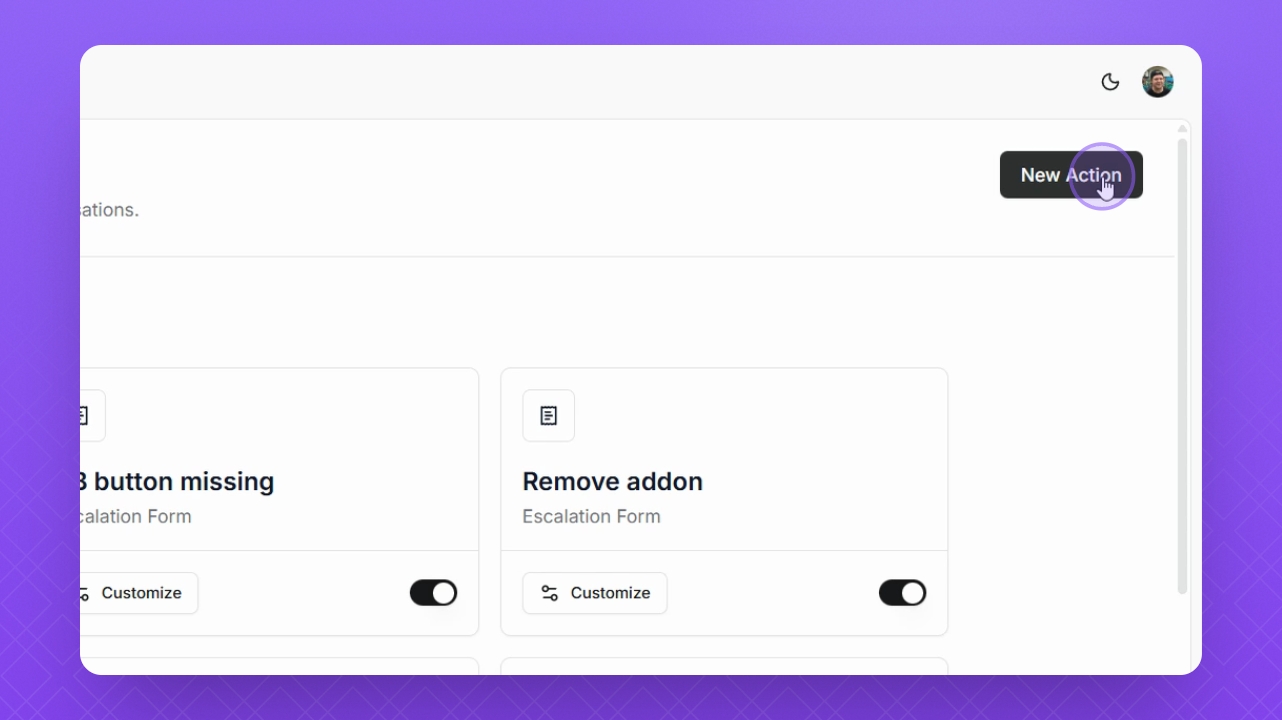
Step 2: Create New Action
Click New Action in the top right corner to start creating an action.
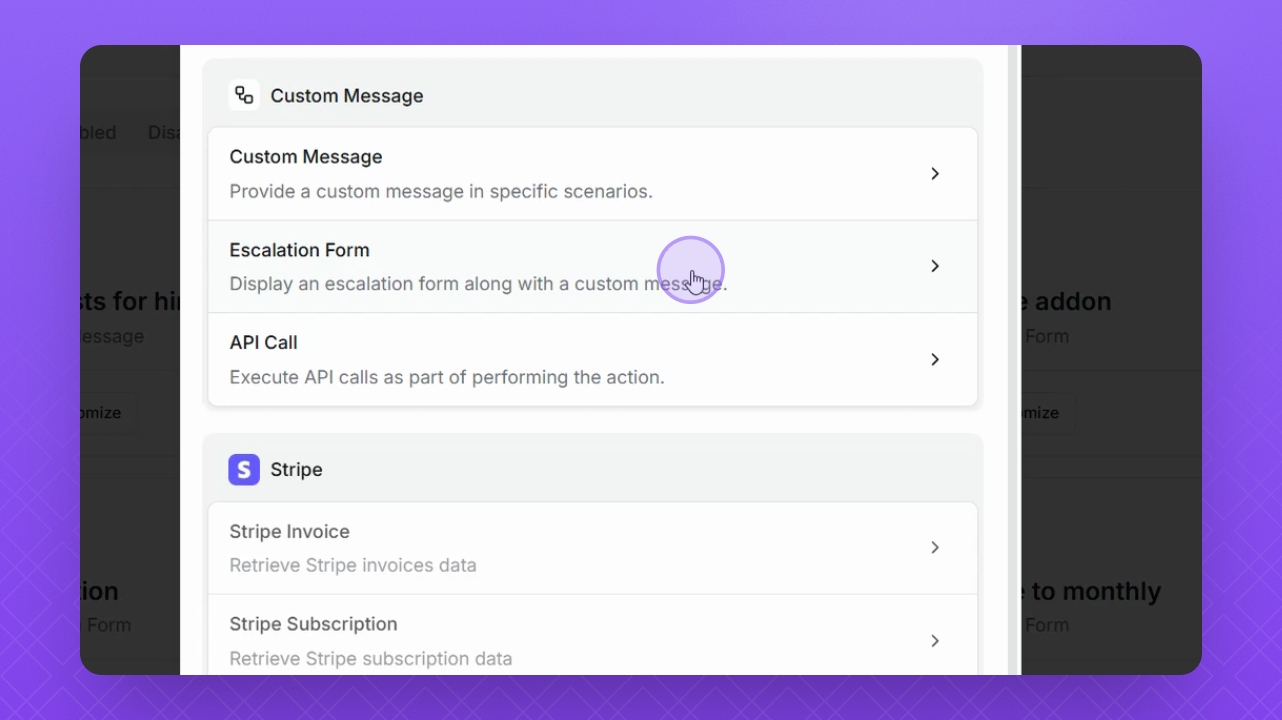
Step 3: Select Action Type
Select the type of action you want to create.
Step 4: Name the Action
Give your escalation action a name for identification.
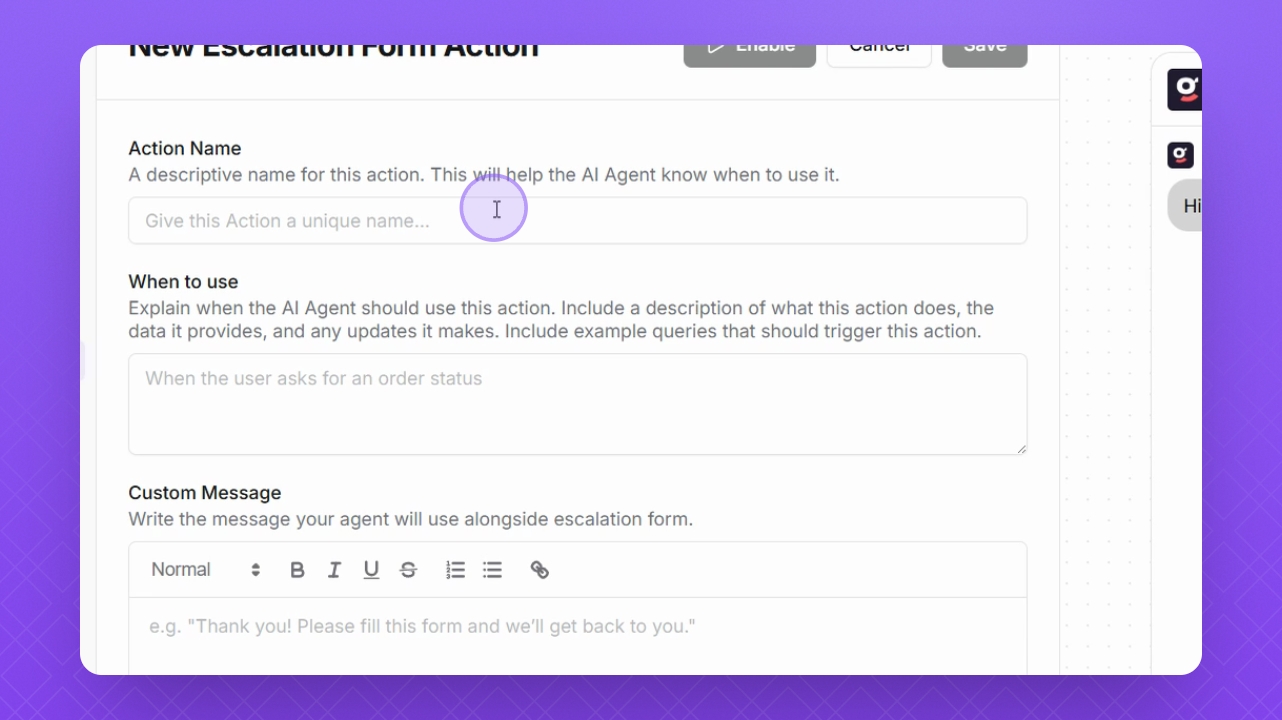
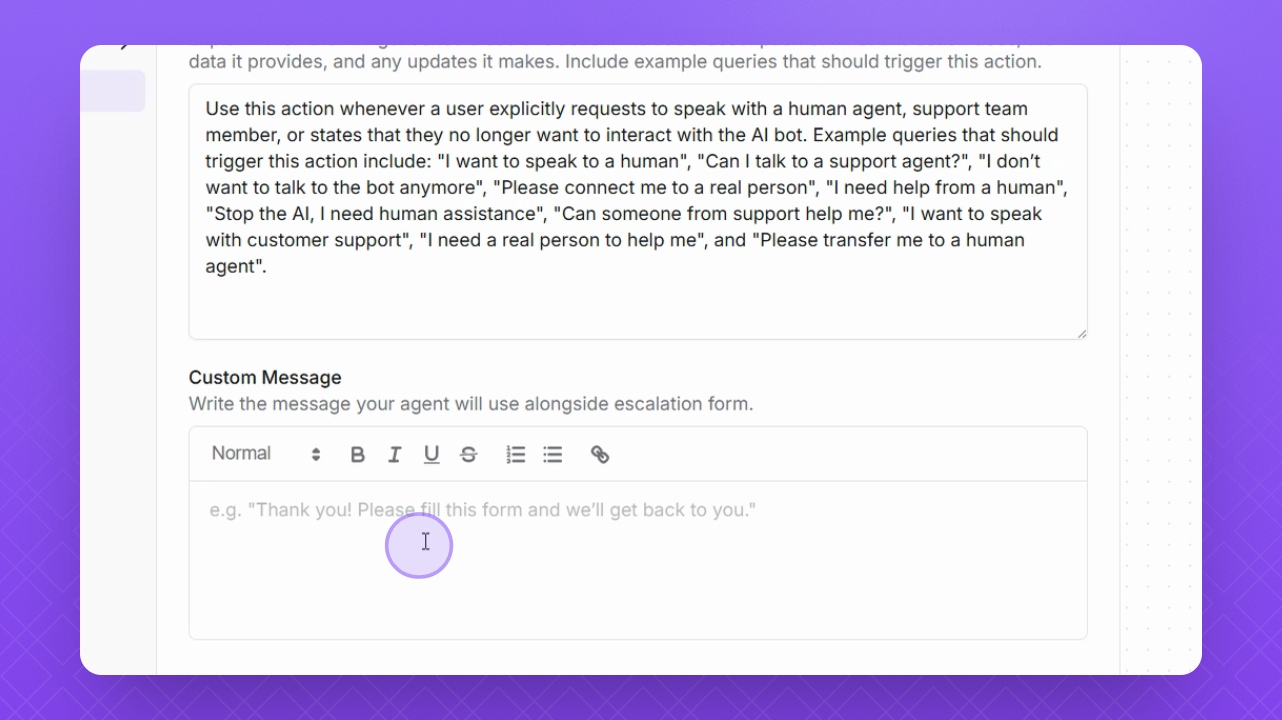
Step 5: Provide Instructions
Explain to the Helply agent when to use this action.
TIP: Including examples in the context helps clarify the action for the agent.
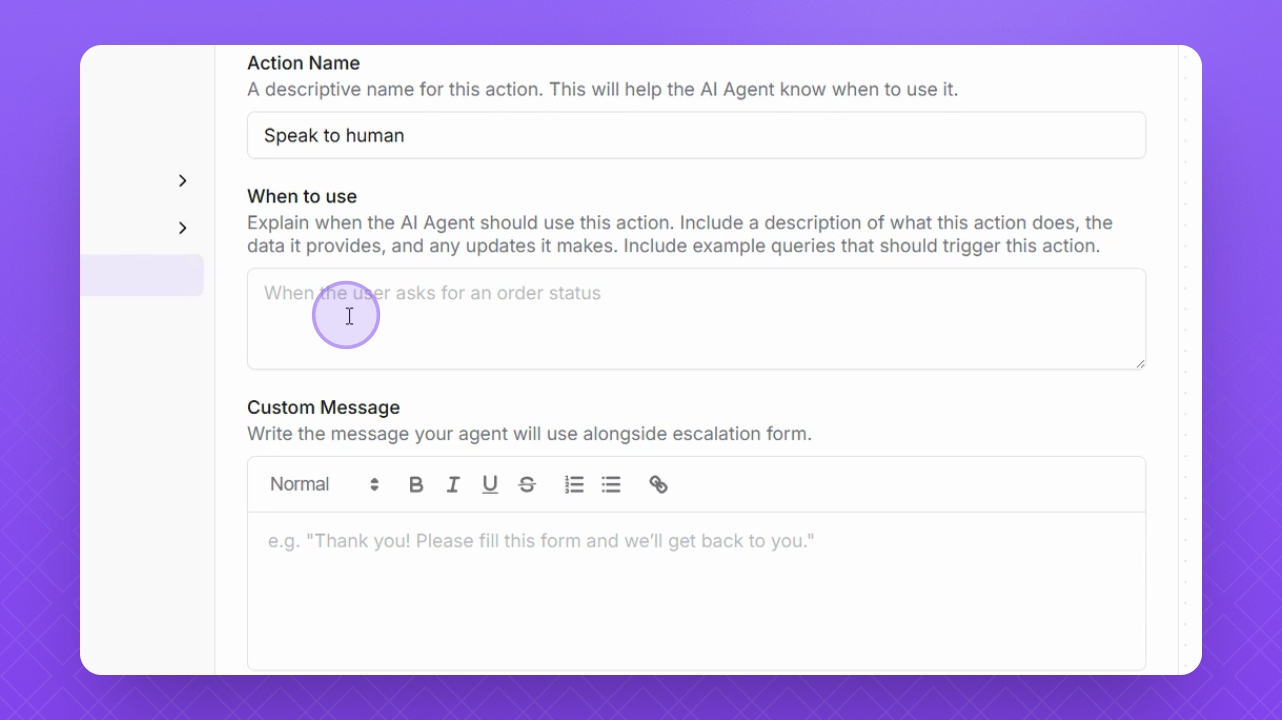
Step 6: Add Custom Message
Provide a custom message for the action to be sent to users.
Step 7: Save Action
Click Save to finalize your action setup.
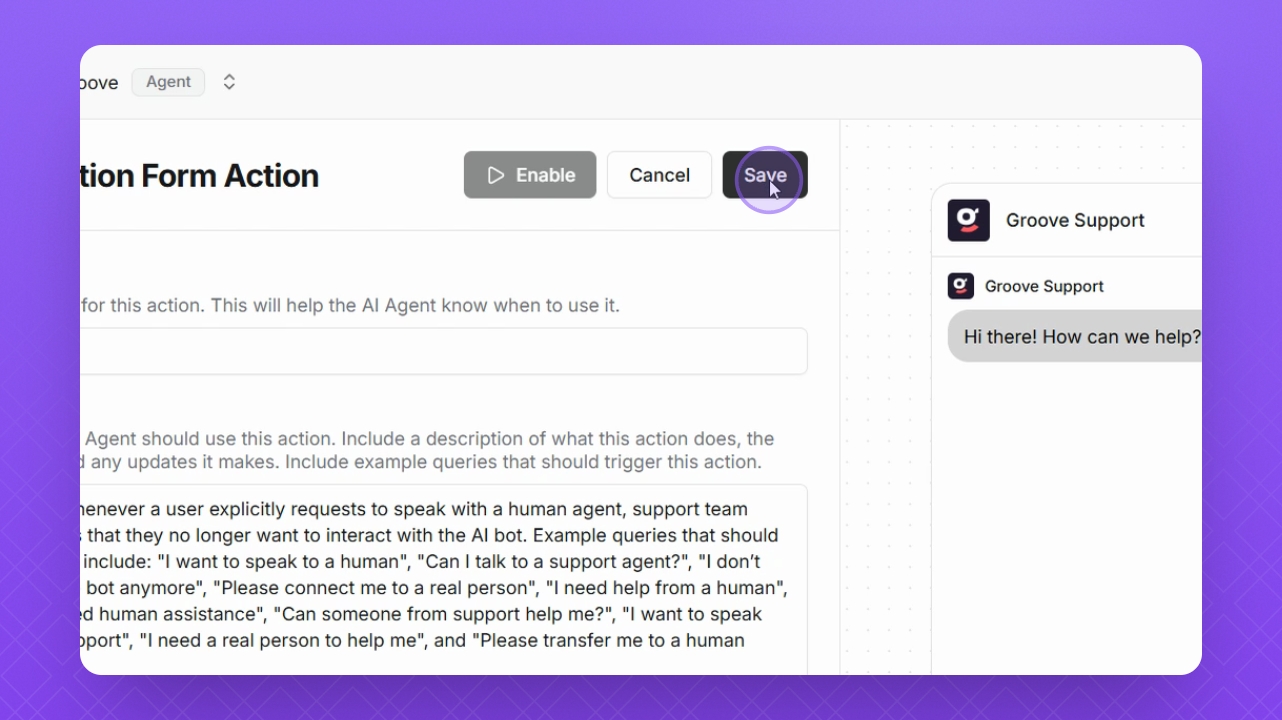
Step 8: Enable Action
Enable the action by clicking the toggle button to ensure it is active.
Step 9: Test Action
Navigate to your playground to test the newly created escalation action.
Step 10: Understand Priorities
Note that actions take priority over any training material in your Helply agent.
NOTE: This action is the top priority among all functions and responses.