Let's do it together!
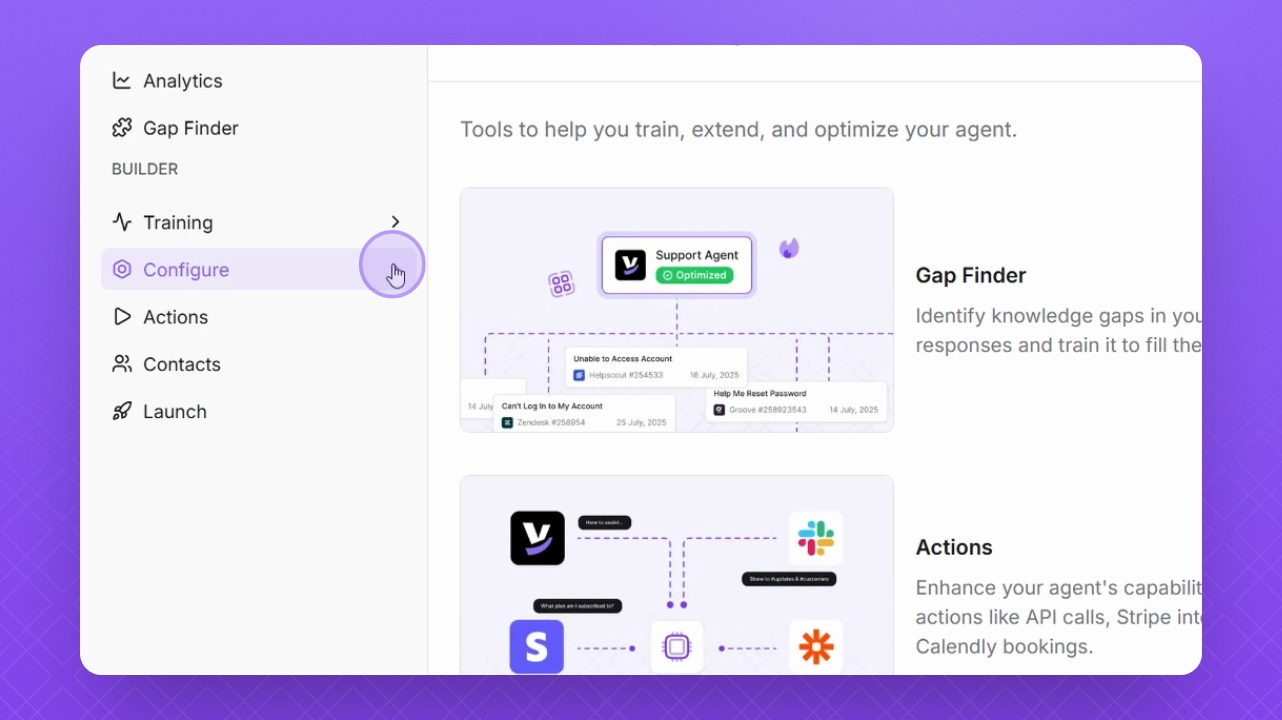
Step 1: Navigate to Configure
Go to Configure on the left sidebar to begin editing your escalation form.
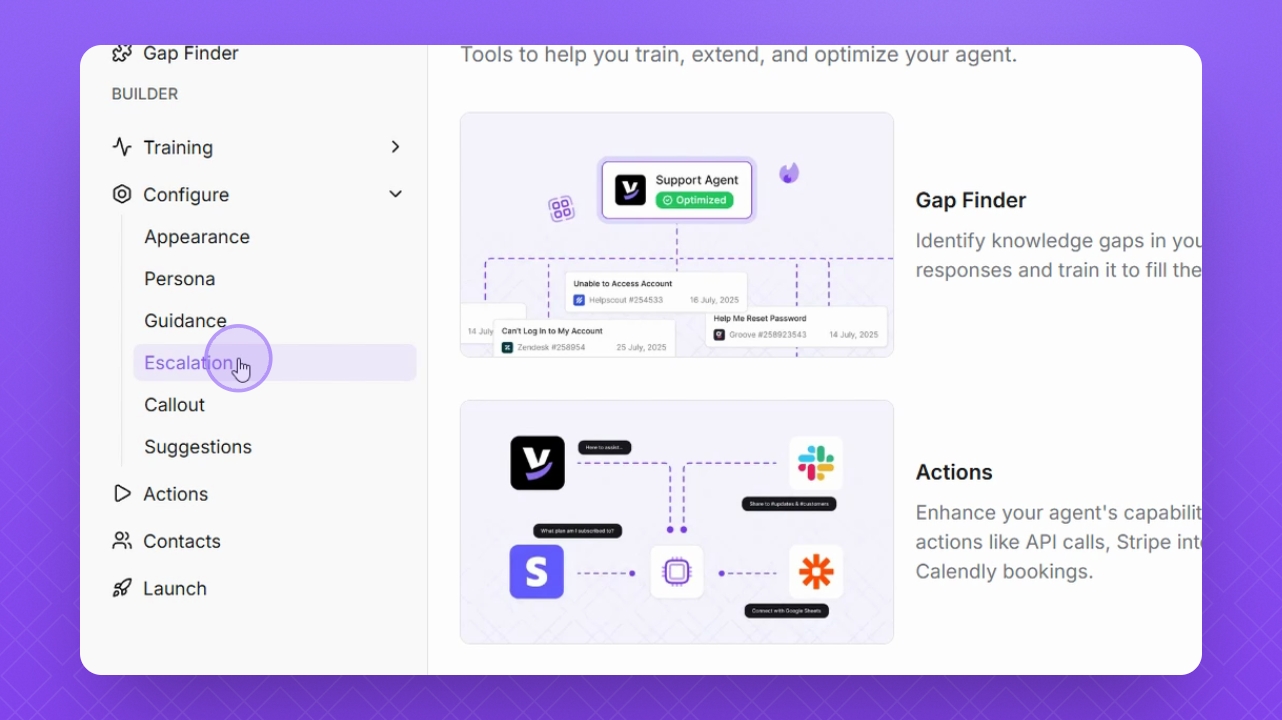
Step 2: Select Escalation
Select Escalation to access the escalation form settings.
Step 3: Add Help Desk Method
Click Add New to update your contact method and select from available Help Desk options.
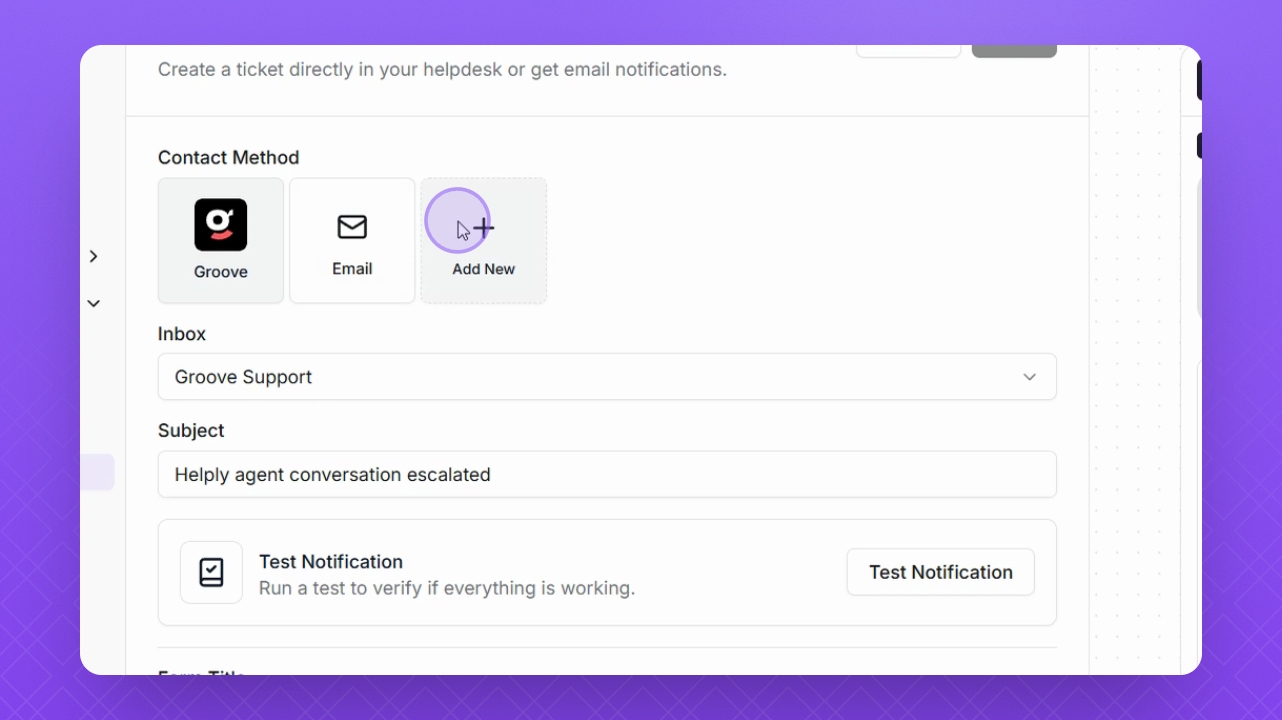
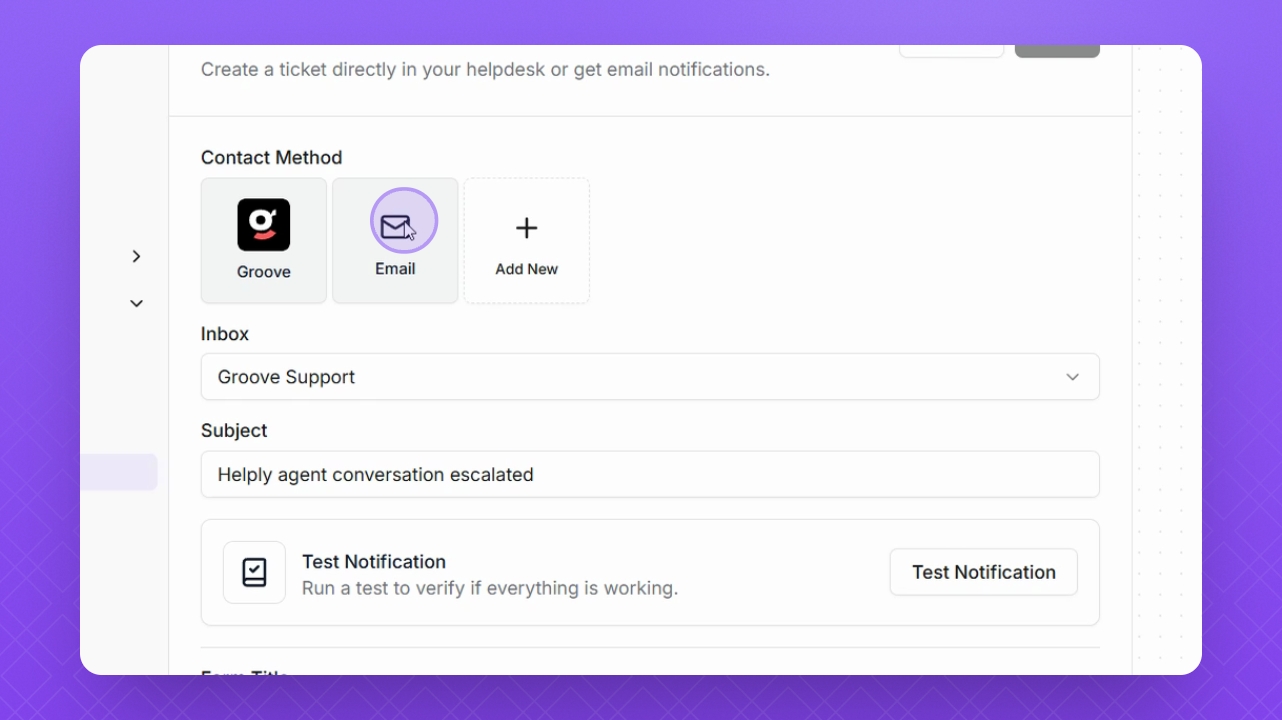
Step 4: Email Method
If needed, select the email method by choosing Email.
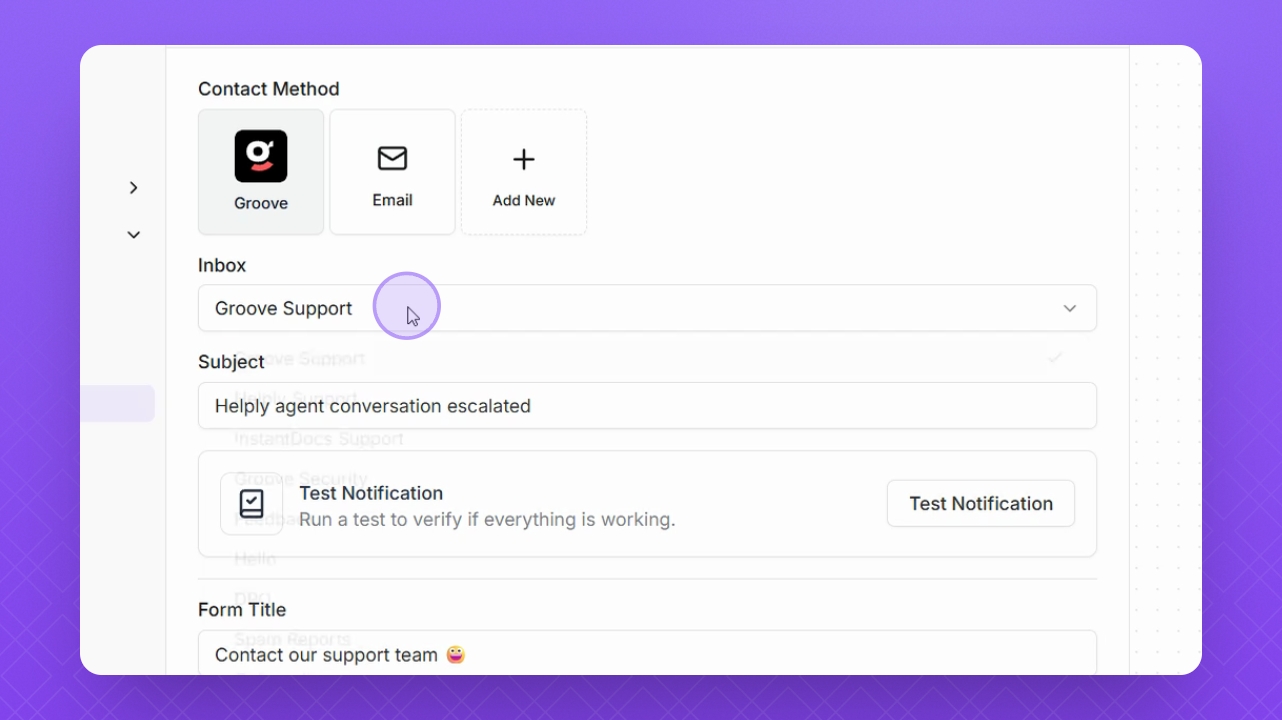
Step 5: Select Inbox for Help Desk Method
Click the Inbox drop-down to select the inbox for forwarding escalations to your help desk.
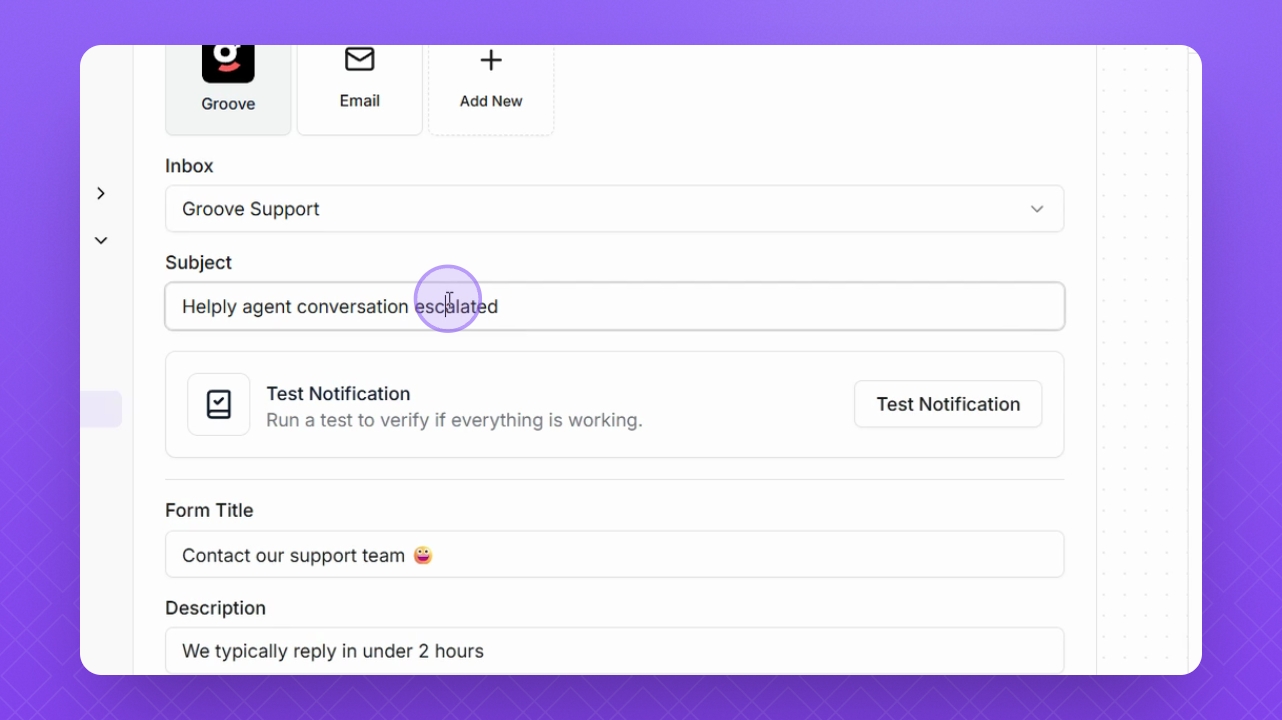
Step 6: Modify Subject
Change the email subject of the escalation if necessary.
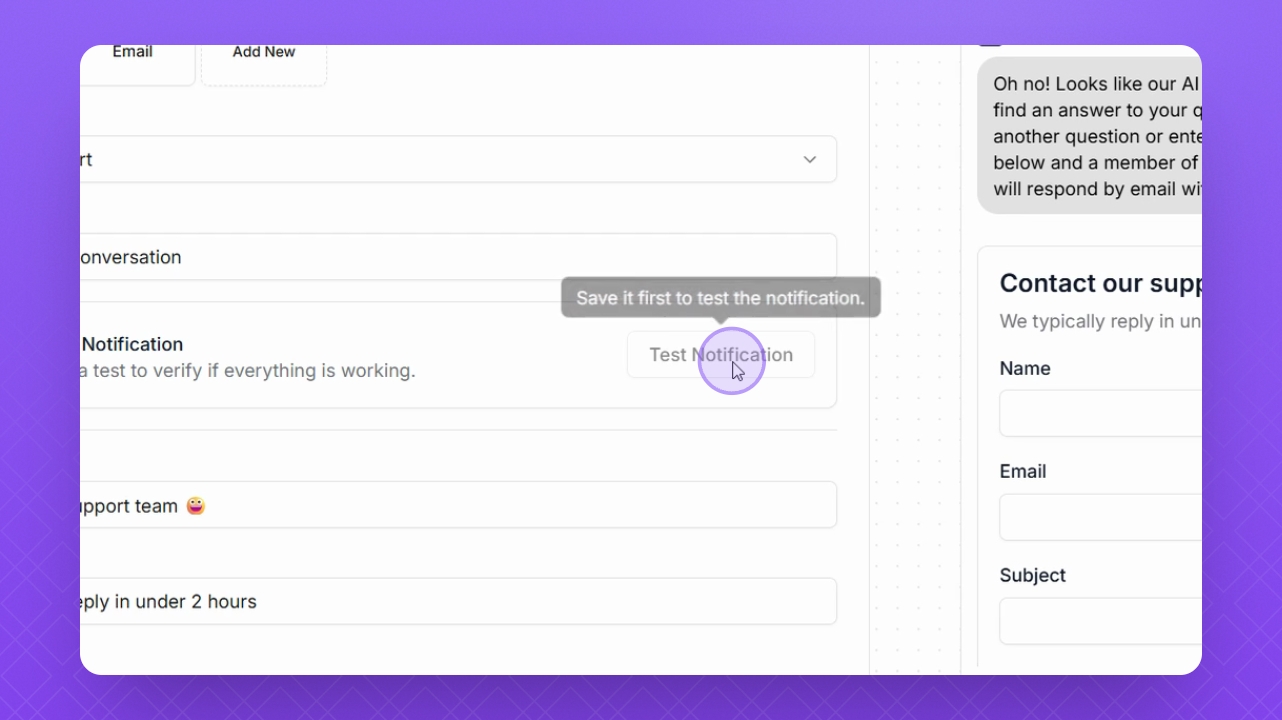
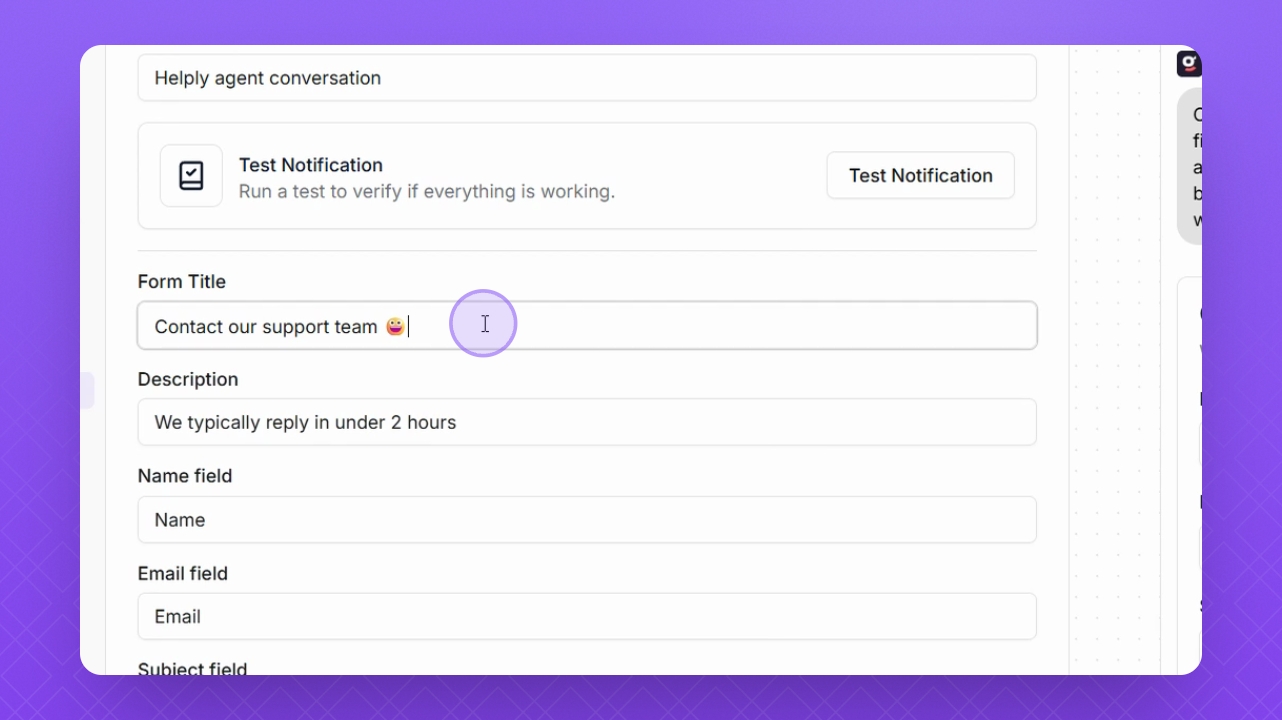
Step 7: Test Notification
Run a test notification to verify your escalations are functioning correctly.
Step 8: Change Form Fields
Update the title, description, and field labels such as Name, Email, Subject, Message, and Attachments.
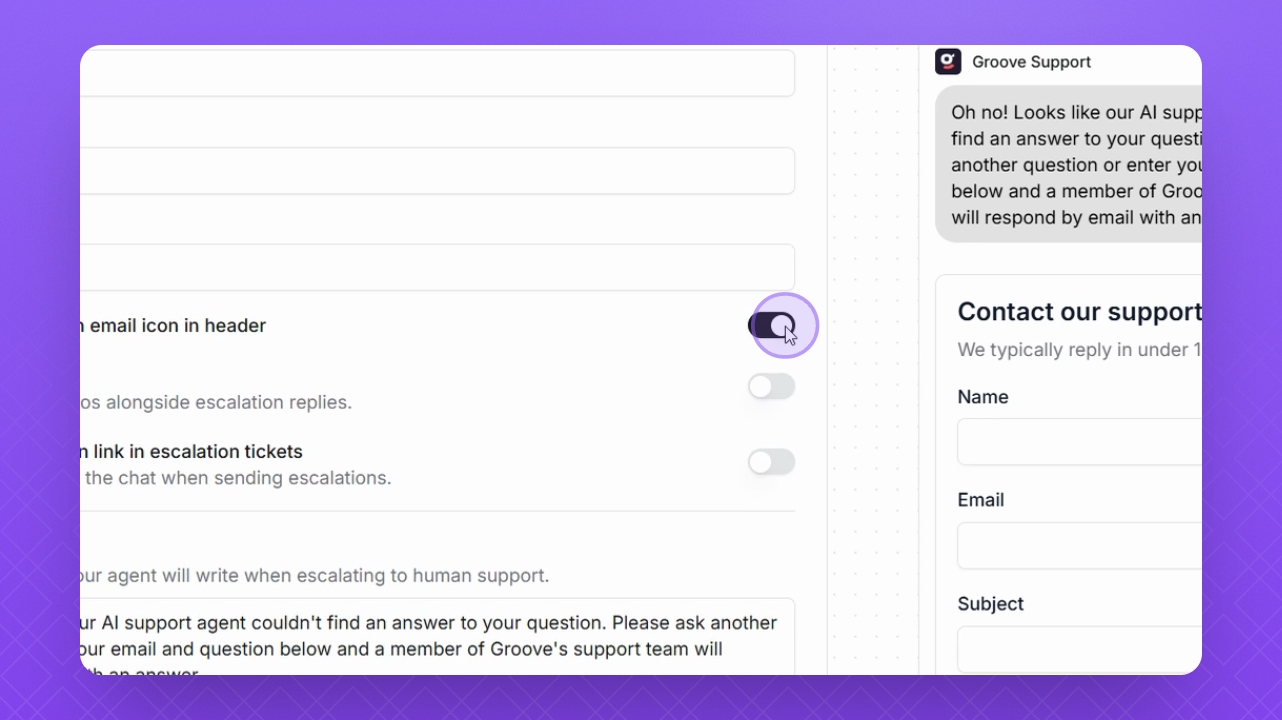
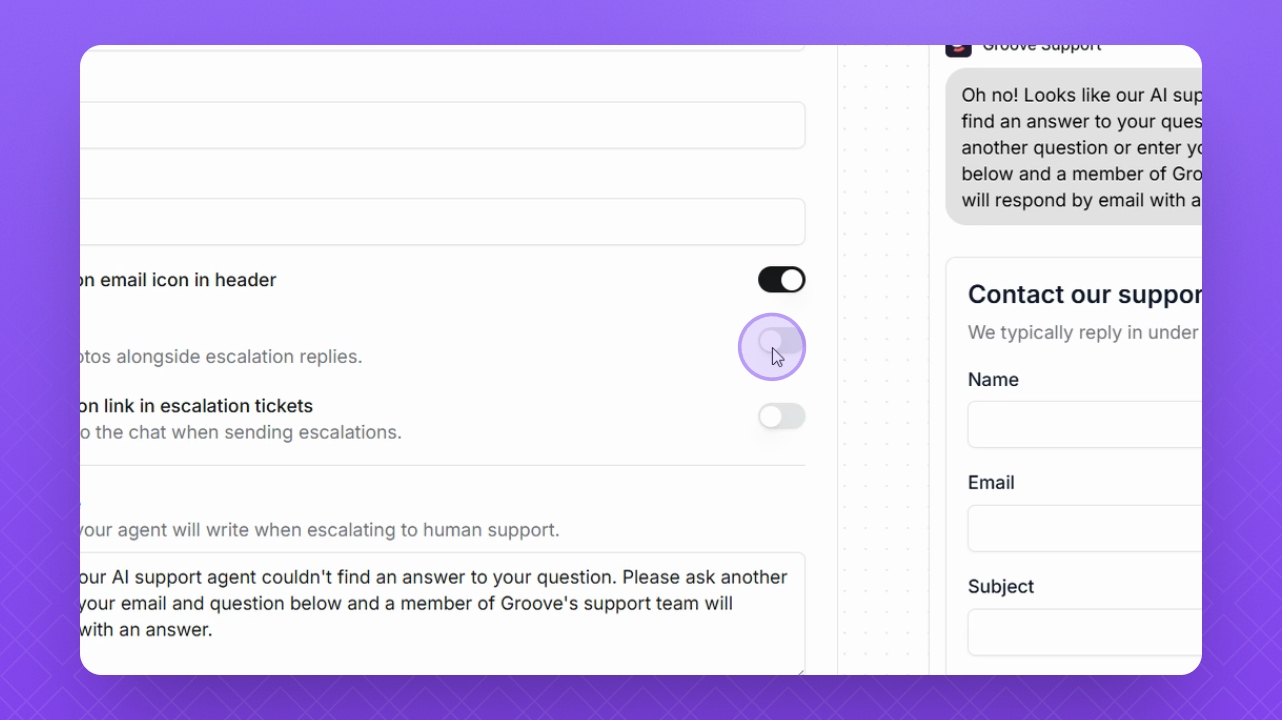
Step 9: Show/Hide Icons
Use the Show/Hide Escalation Email Icon option to manage icon visibility.
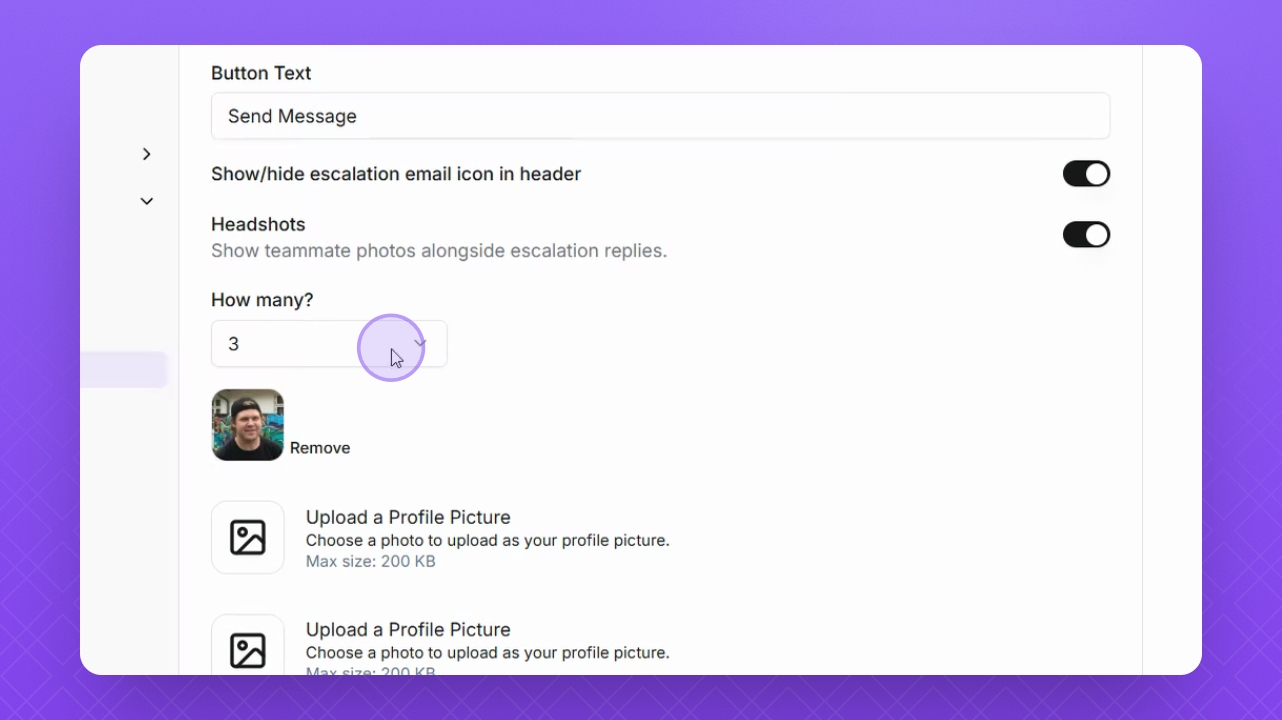
Step 10: Add Headshots
Use the Headshots button to add photo headshots for customization.
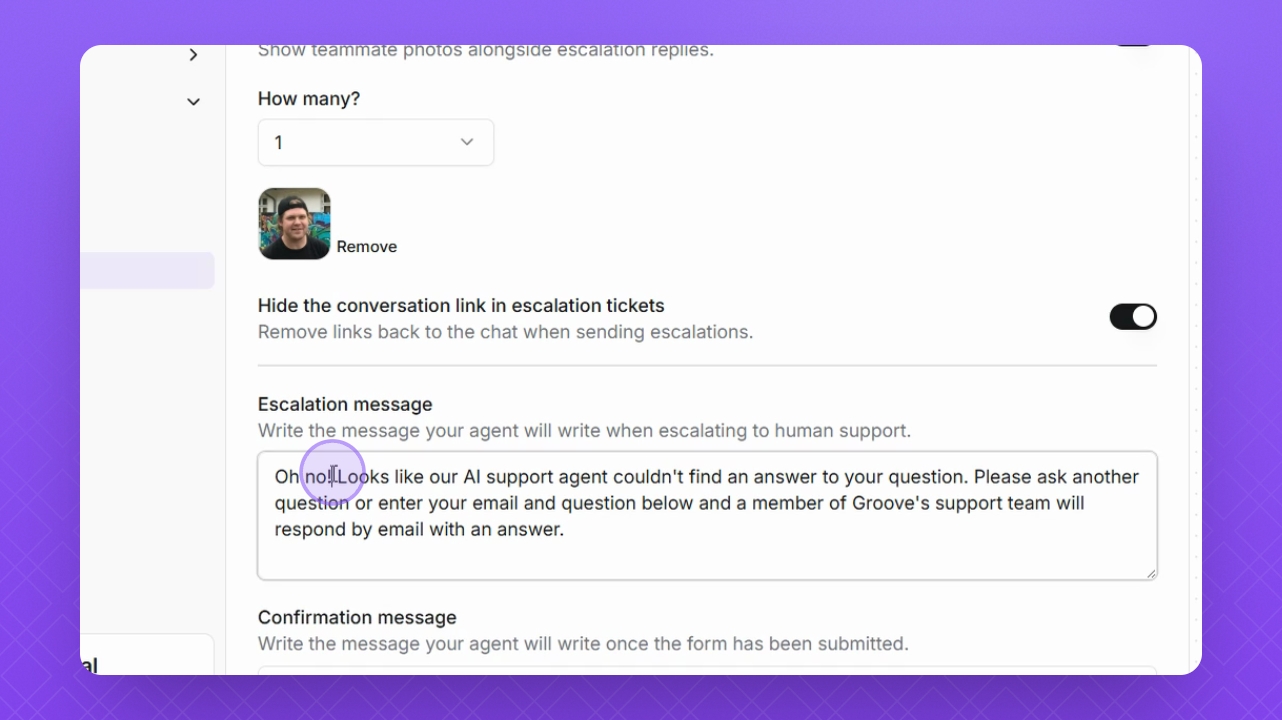
Step 11: Set Headshot Count
Select from the drop-down how many headshot images you want to appear.
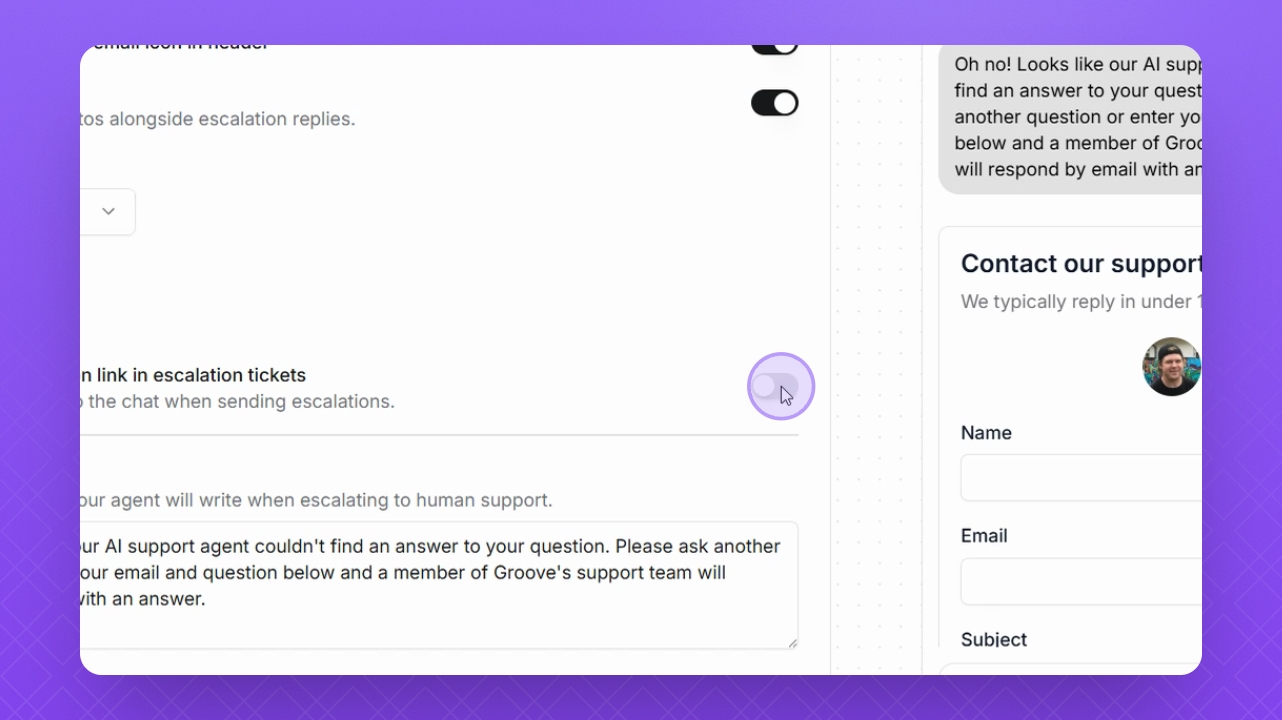
Step 12: Hide Conversation Link
Choose to hide the conversation link in tickets to remove chat links in escalations.
Step 13: Update Messages
Change your escalation message and confirmation message settings as needed.
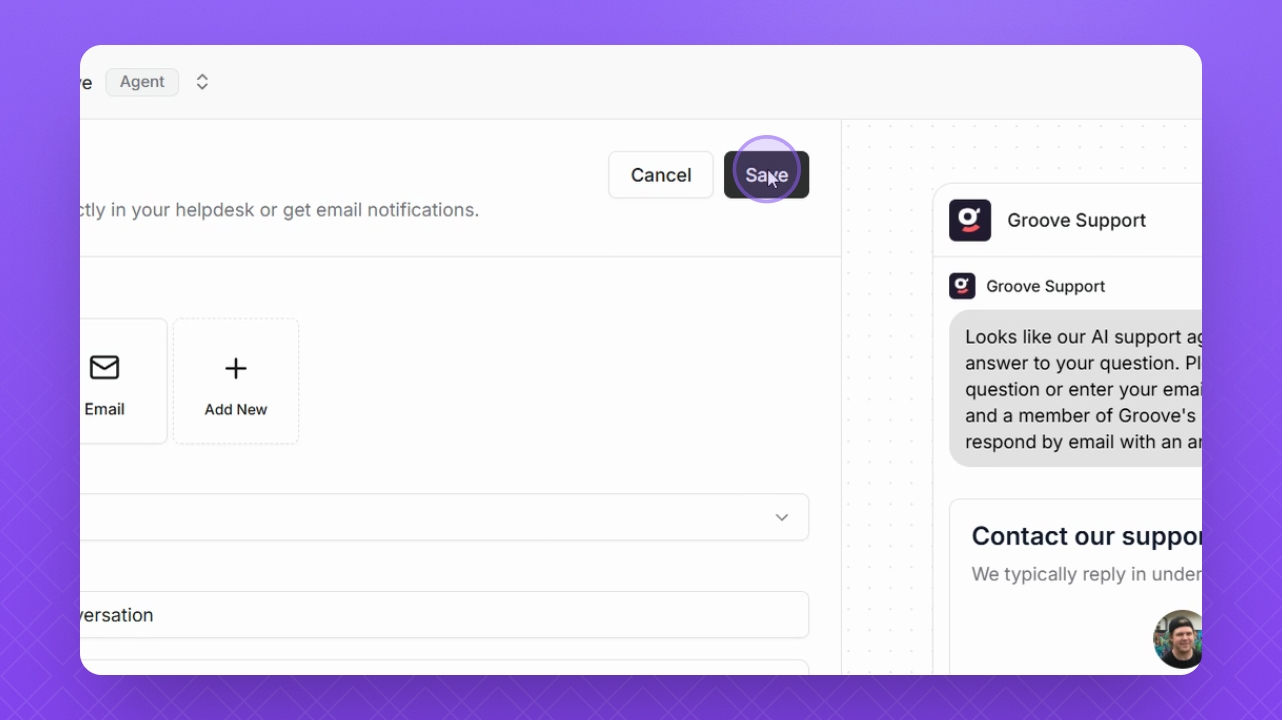
Step 14: Save Changes
Click Save Changes at the top to finalize your updates.
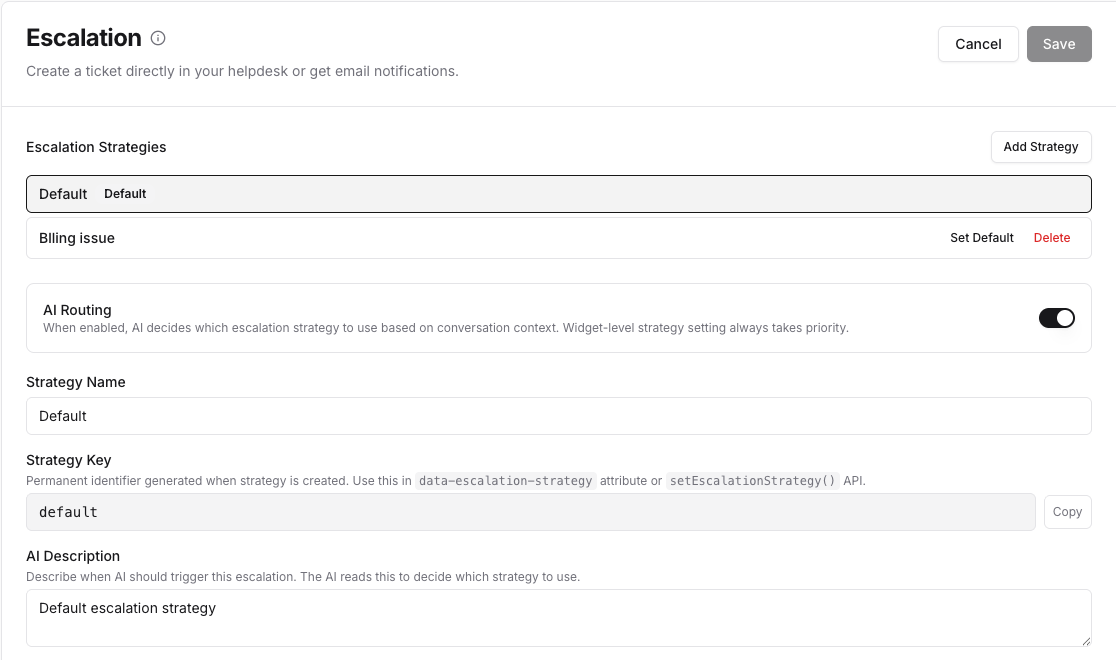
Multiple strategies
To create a new strategy, simply click on the Add Strategy button. Having multiple strategies allows you to also choose a fallback strategy in case your default escalation is not working.
If you turn on the AI Routing option, your AI Agent will decide when to use which escalation (based on the AI Description field).
You can choose which escalation to serve using the widget's API. For snippets, go to Launch page and click on the Advanced Integration Options tab.