Let's do it together!
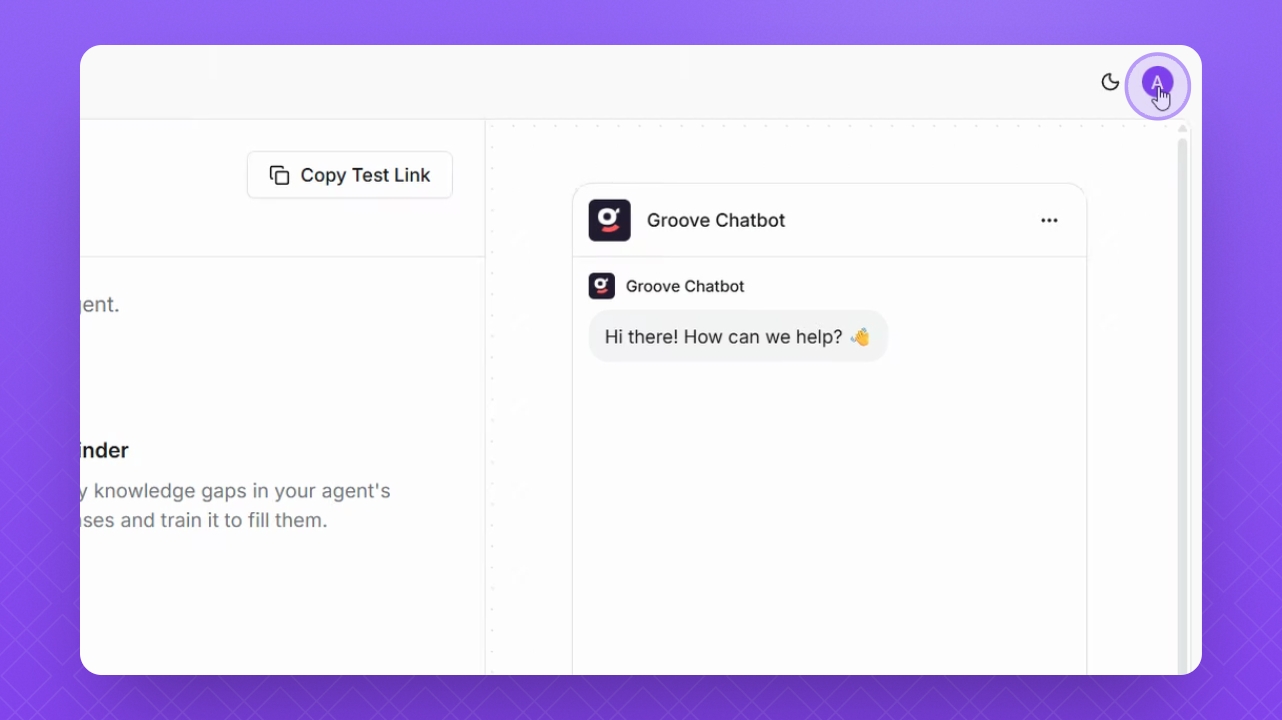
Step 1: Open Profile Menu
Click your profile icon in the top right corner to access the menu.
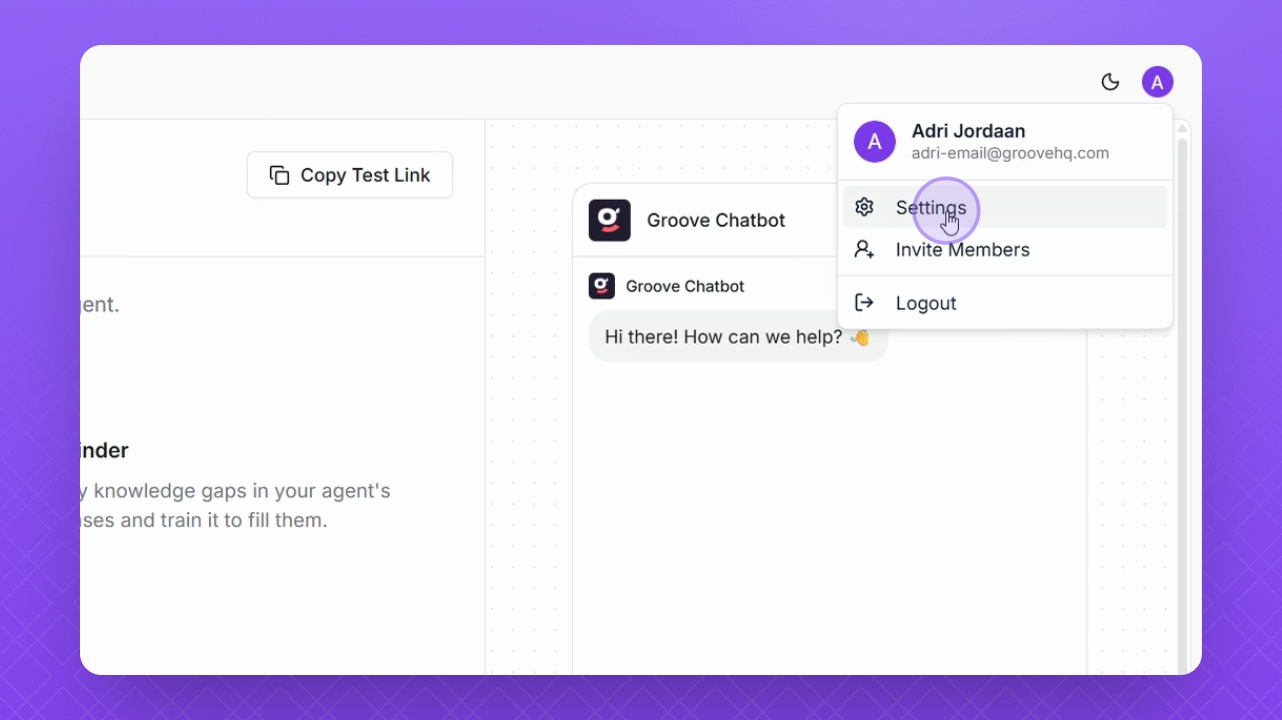
Step 2: Access Settings
Select Settings from the menu to proceed to configuration options.
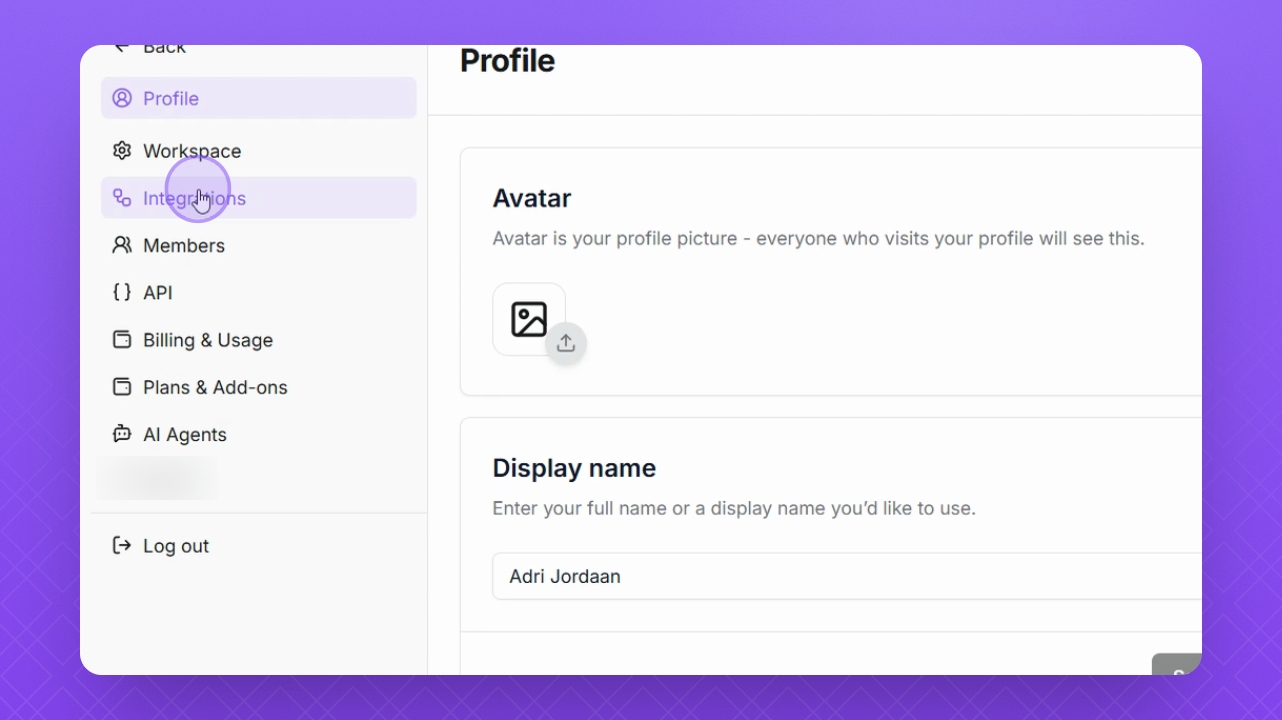
Step 3: Navigate to Integrations
Select Integrations to view available integration options.
Step 4: Browse Integrations and Connect
Browse through the list of available integrations that you can connect. Select Connect for the desired integration to begin the connection process.

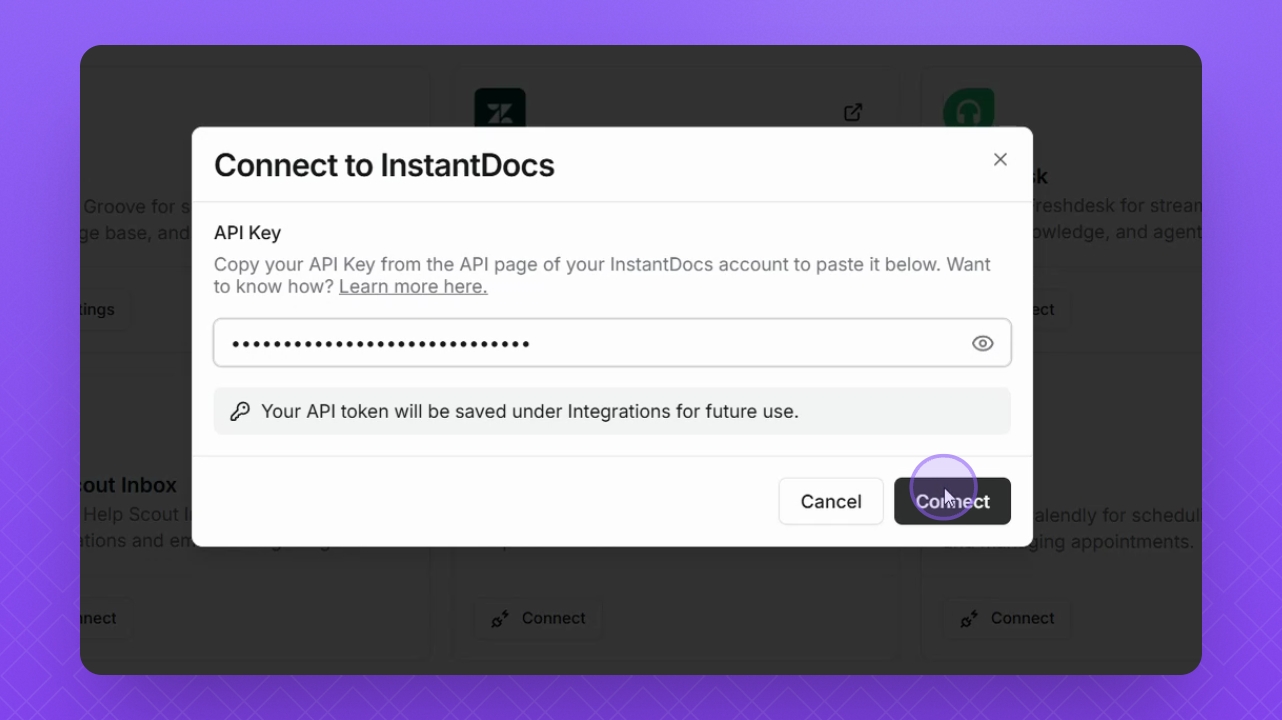
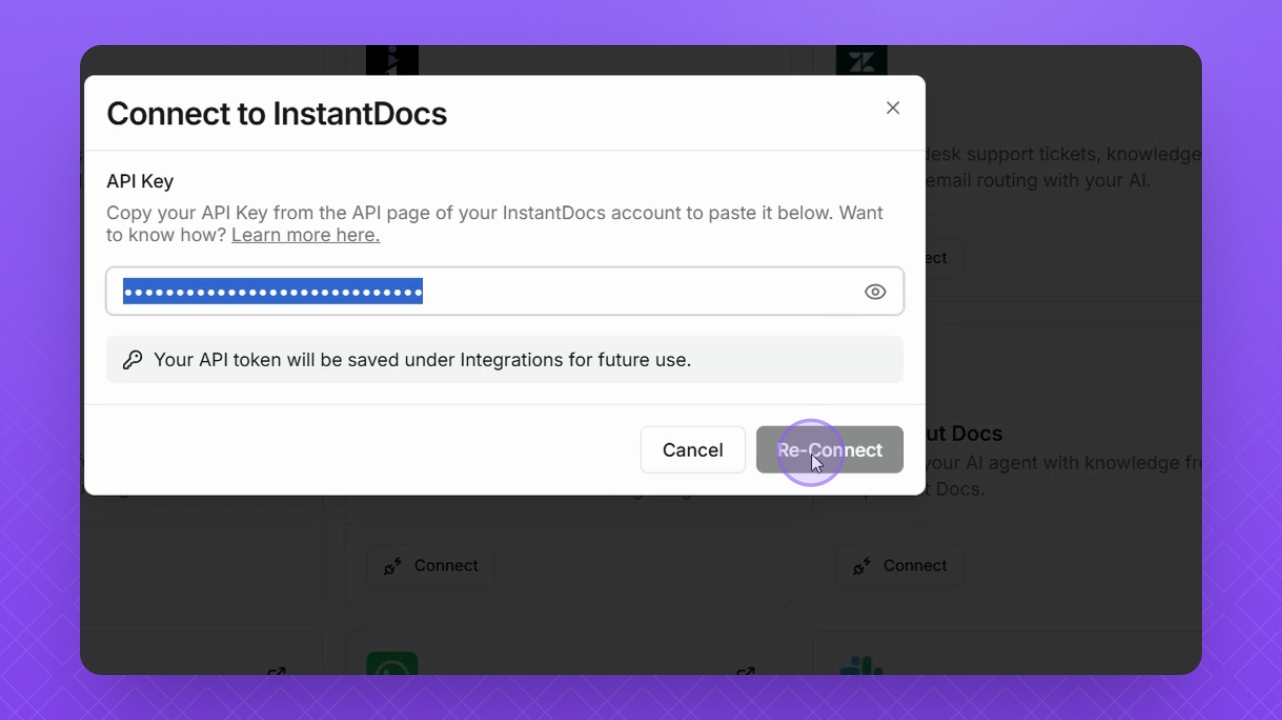
Step 5: Enter API Key
Add your API key in the provided field to authenticate the integration. Select Connect again to finalize the integration setup.
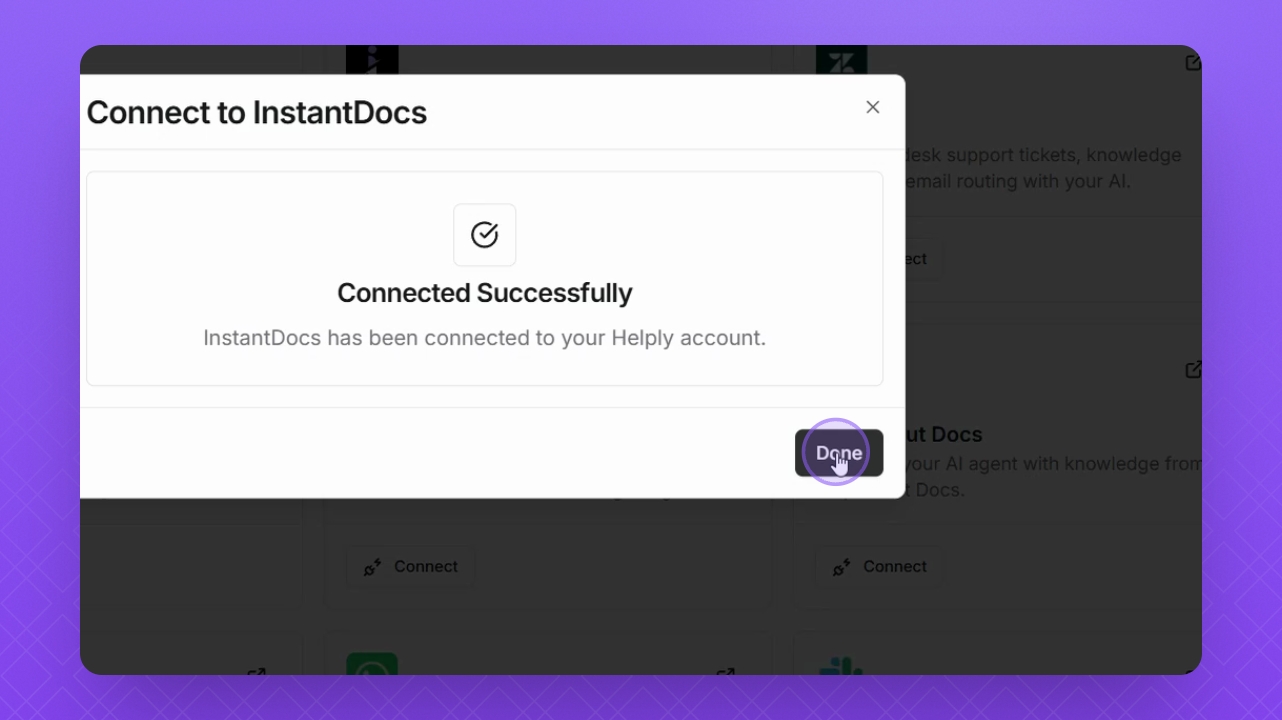
Step 6: Complete Setup
Select Done to exit the integration setup process.
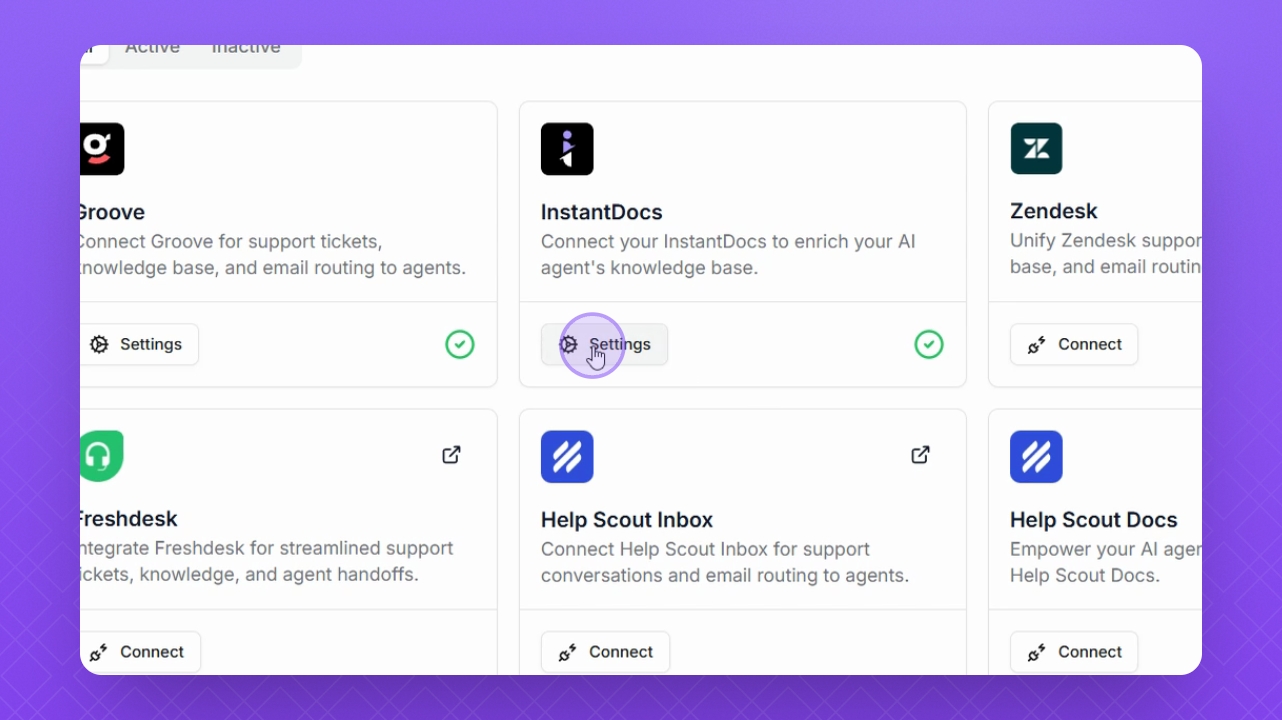
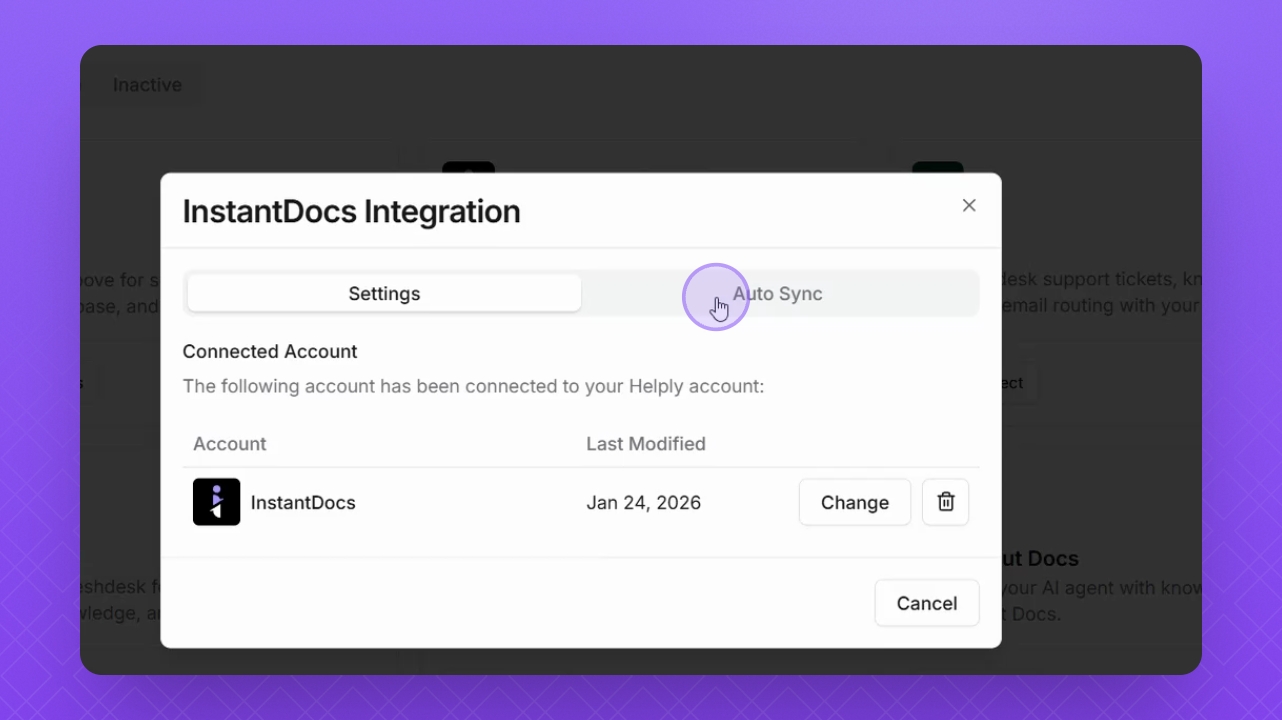
Step 7: Manage Existing Integration
Click the Settings button to manage your connected integrations if needed.
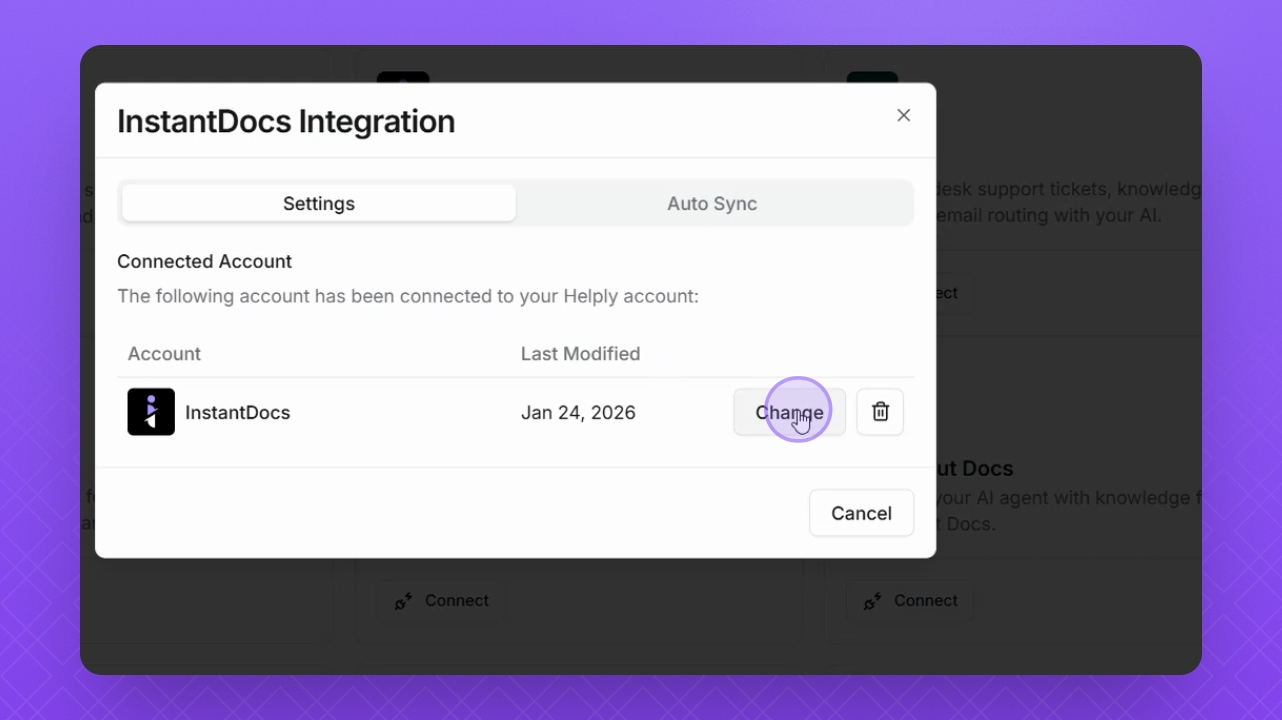
Step 8: Update API Key
Select the Change button to update your API key if necessary.
Step 9: Reconnect Integration
Select the Reconnect button to re-establish the integration connection.
Step 10: Enable Auto Sync
Ensure that Auto Sync is enabled or disabled if you've imported any data.
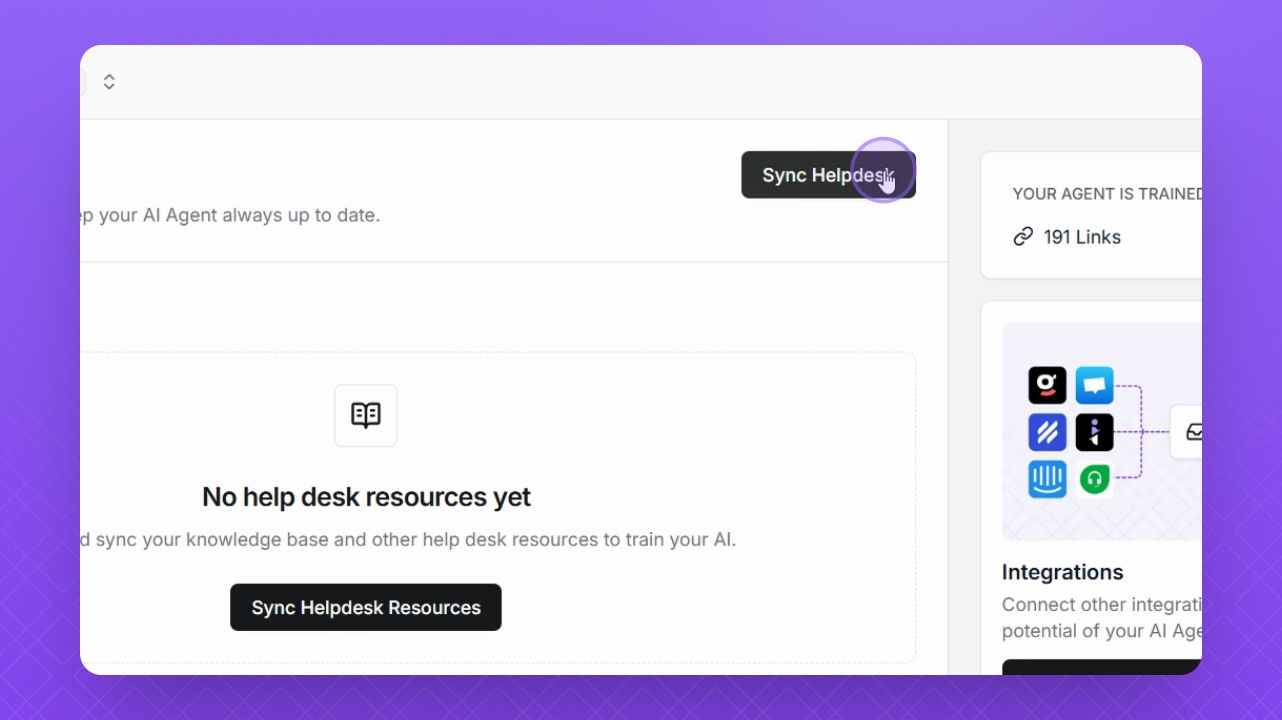
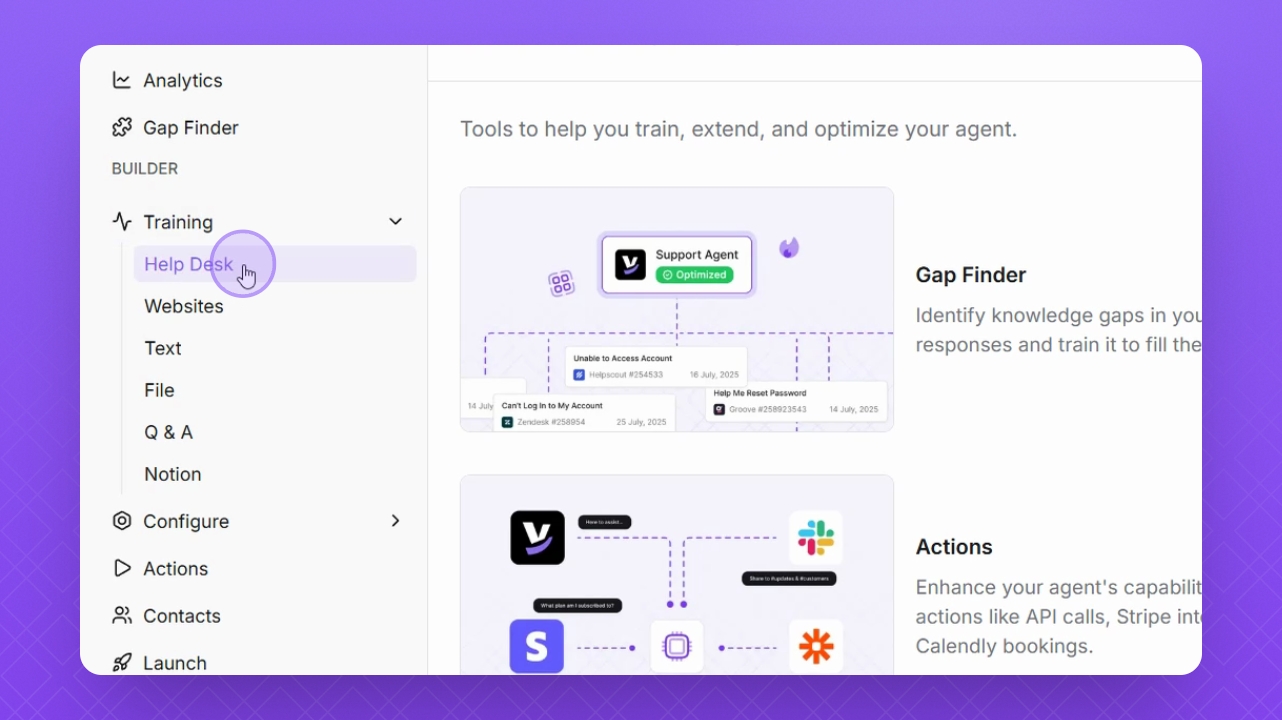
Step 11: Import Data
Navigate to the training area and select Help Desk to start importing resources.
Step 12: Sync Help Desk
Click the Sync Help Desk button to import resources for your integration.