
Let's do it together!
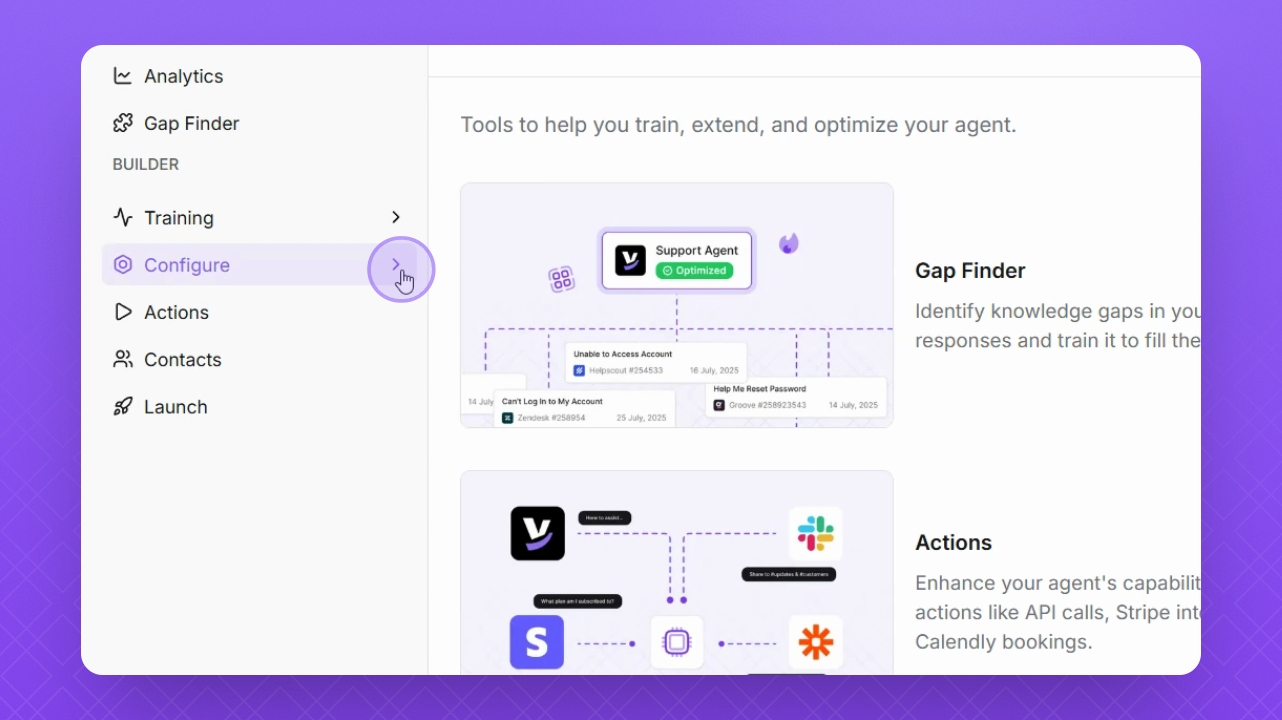
Step 1: Navigate to Configure
Navigate to Configure on the left sidebar.
Step 2: Select Callout
Select Callout from the configuration options.

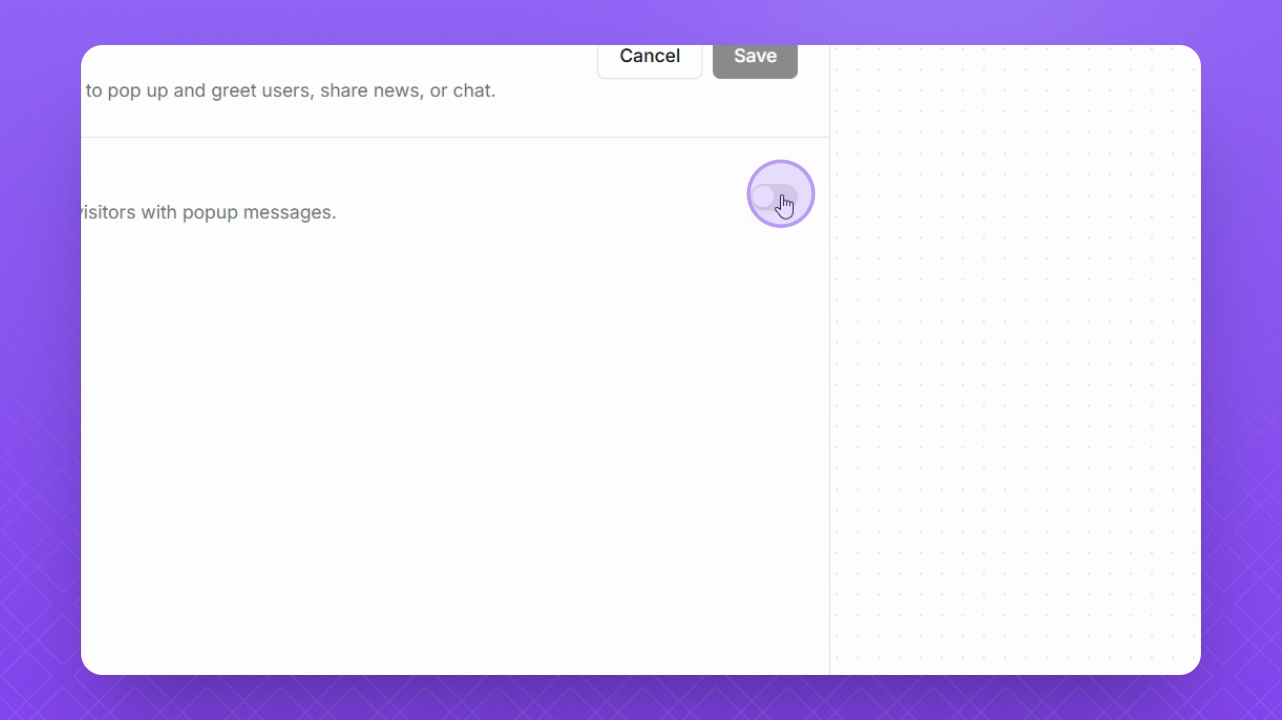
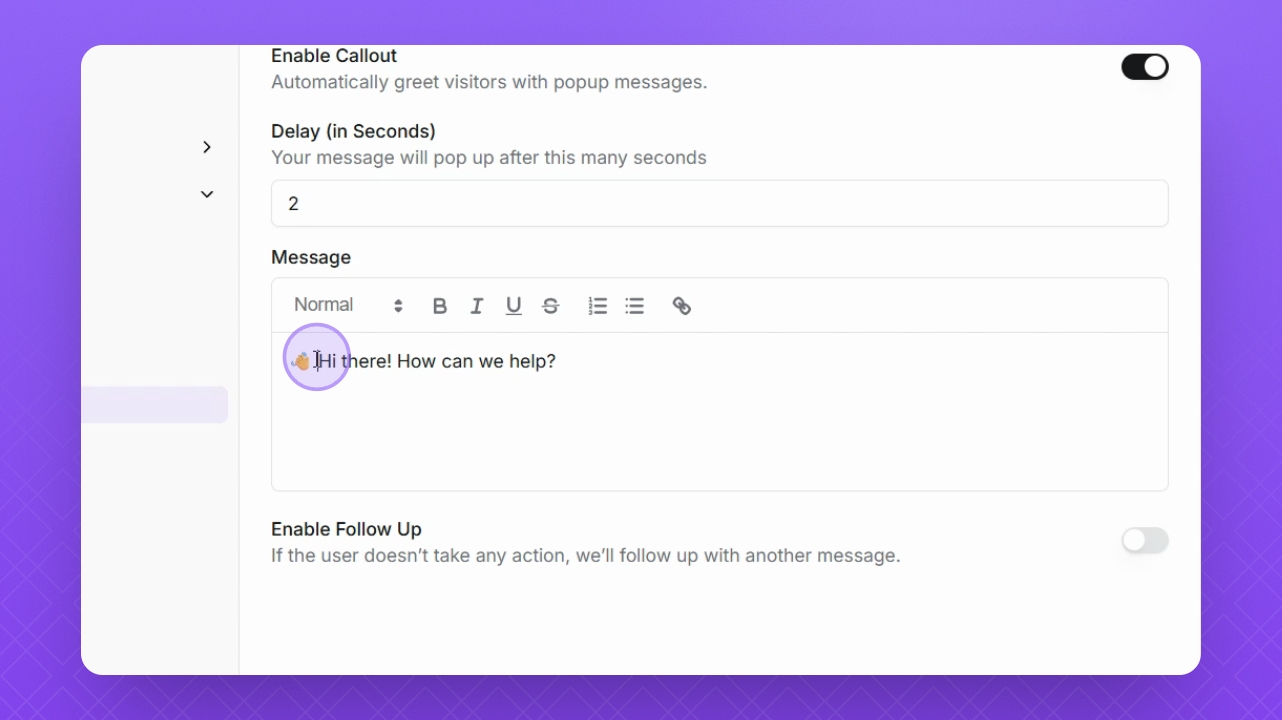
Step 3: Enable Callouts
Click the Toggle button to enable callouts.
Step 4: Set Delay
Set the delay for the callout message. We recommend 10 seconds.
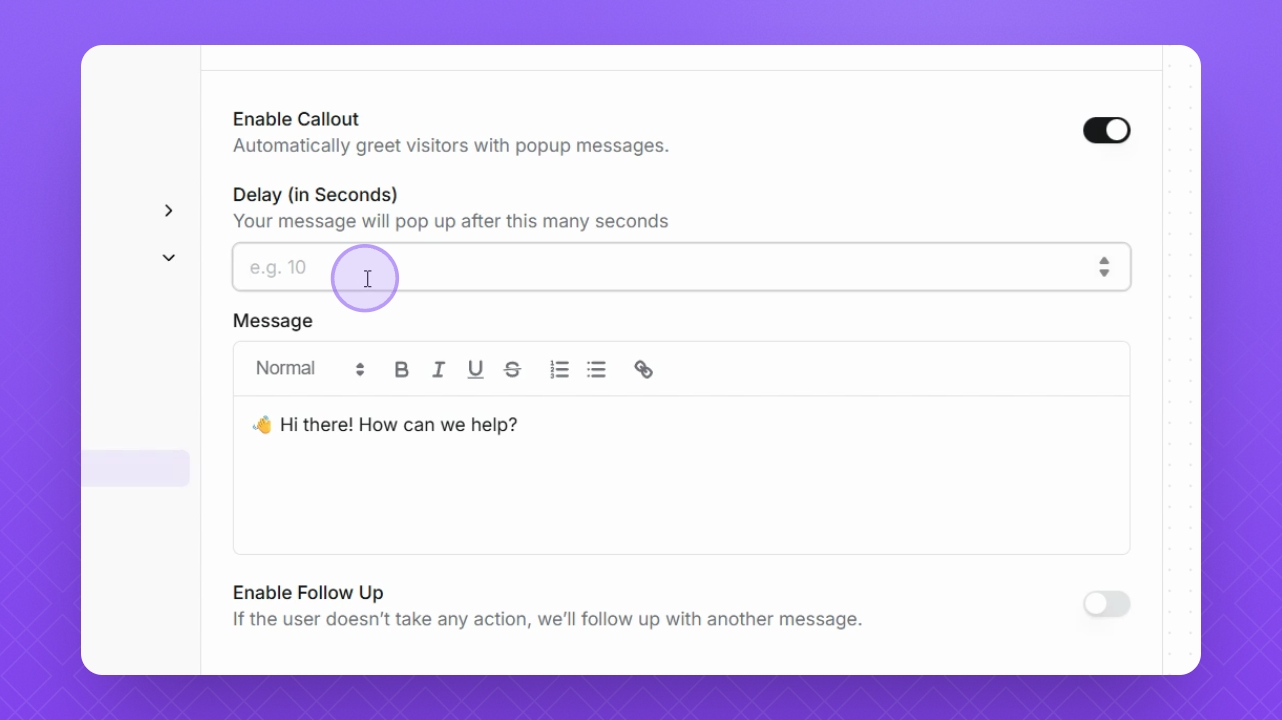
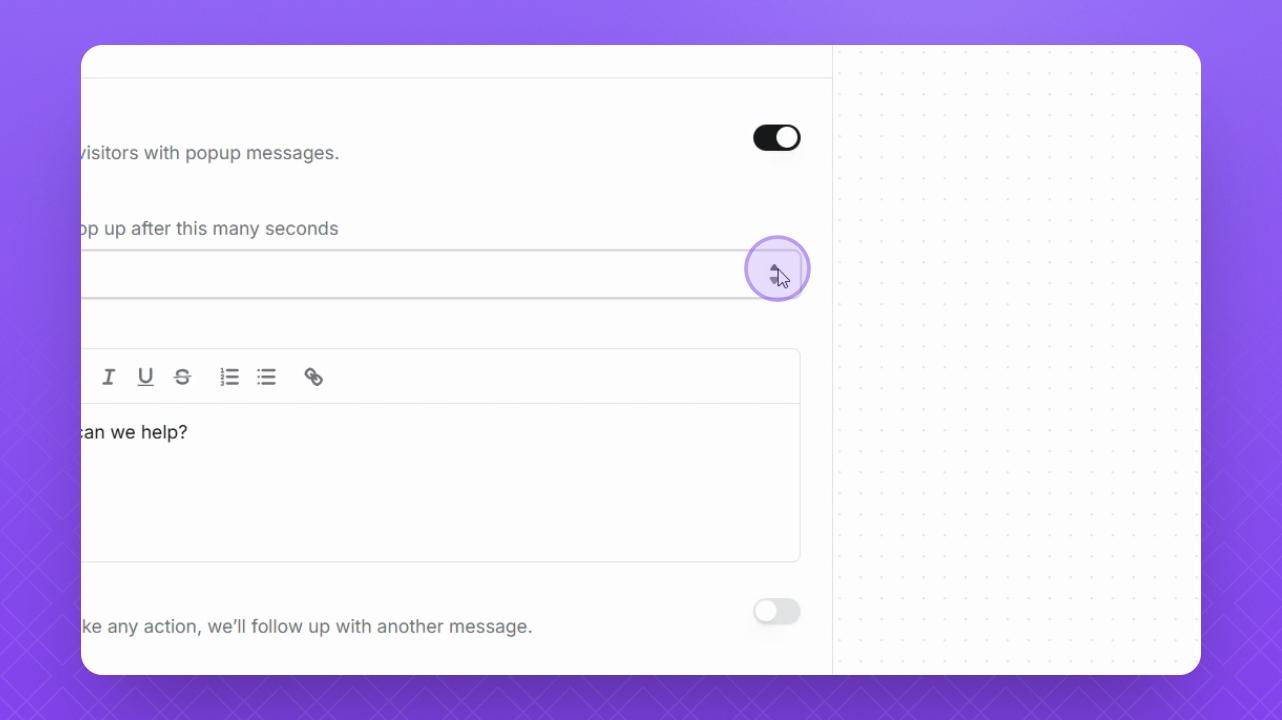
Step 5: Adjust Delay
Use the up and down arrows to adjust the seconds in the delay field if needed.
Step 6: Edit Callout Message
Adjust your message for the callout as needed using the Format toolbar above.
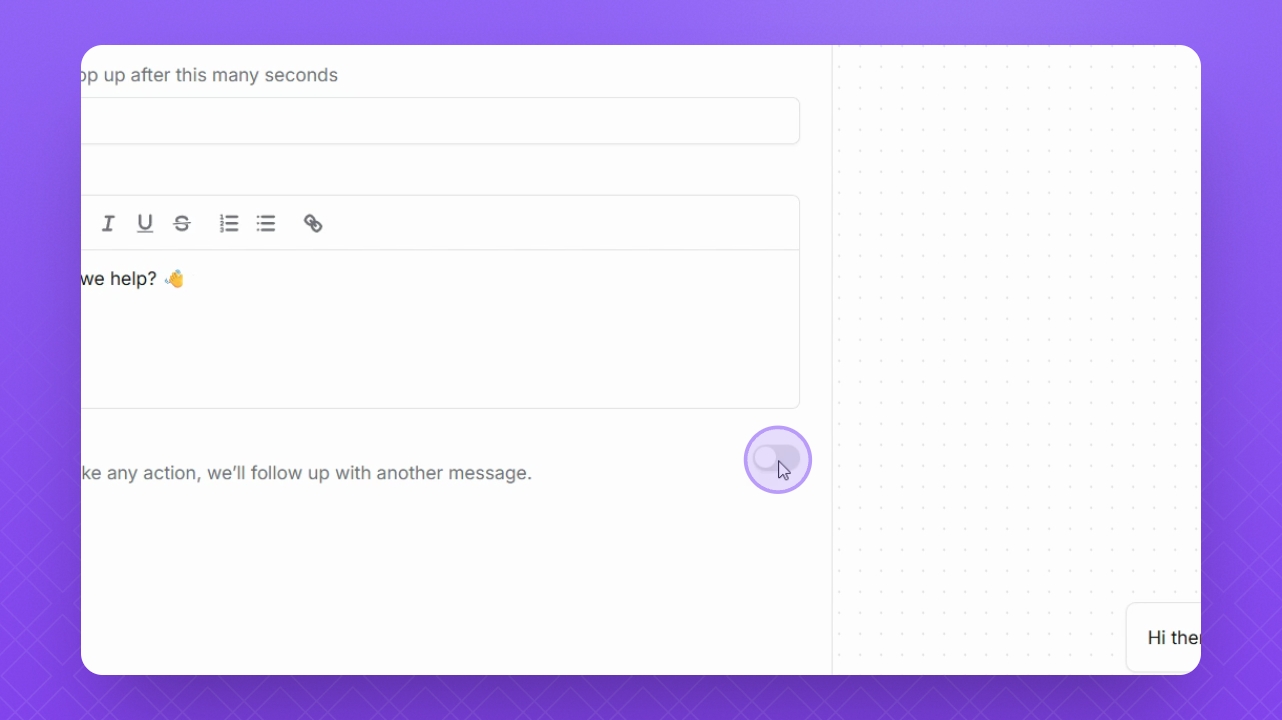
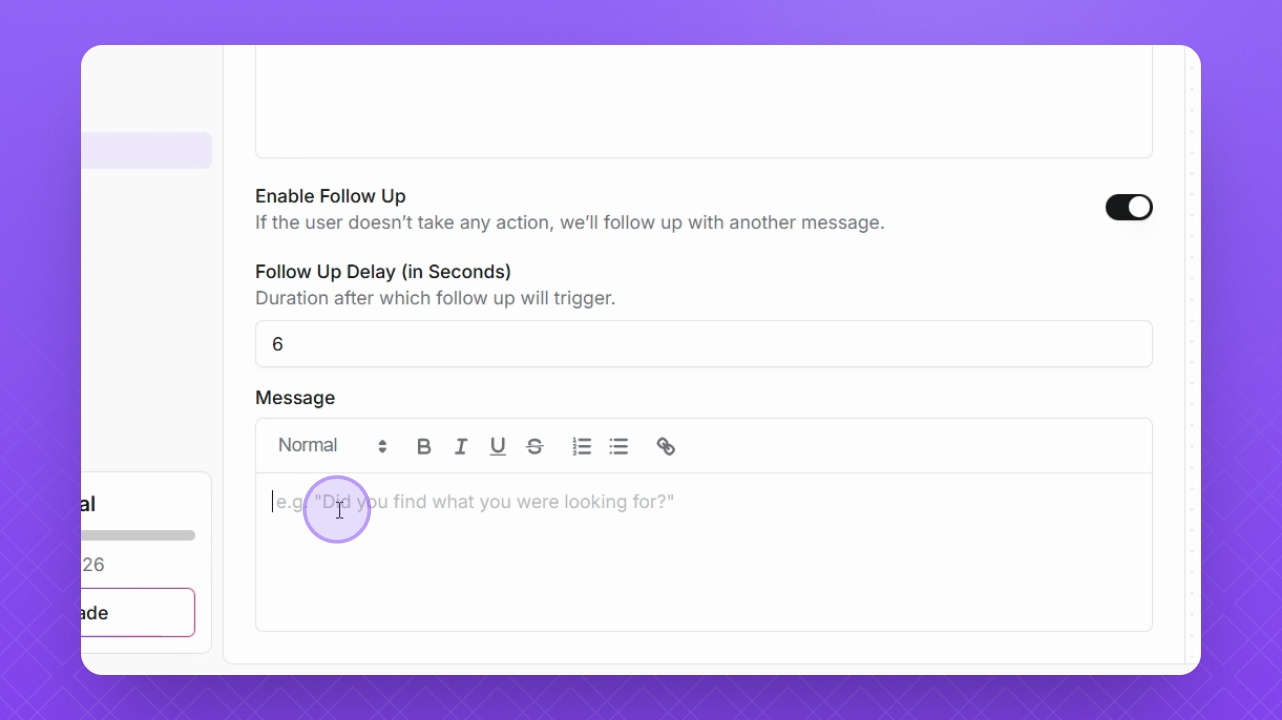
Step 7: Enable Follow Up
Click the Enable Follow up button to prompt the user if they do not take action.
Step 8: Set Follow Up Delay
For the follow up delay, we suggest adding 15 seconds.
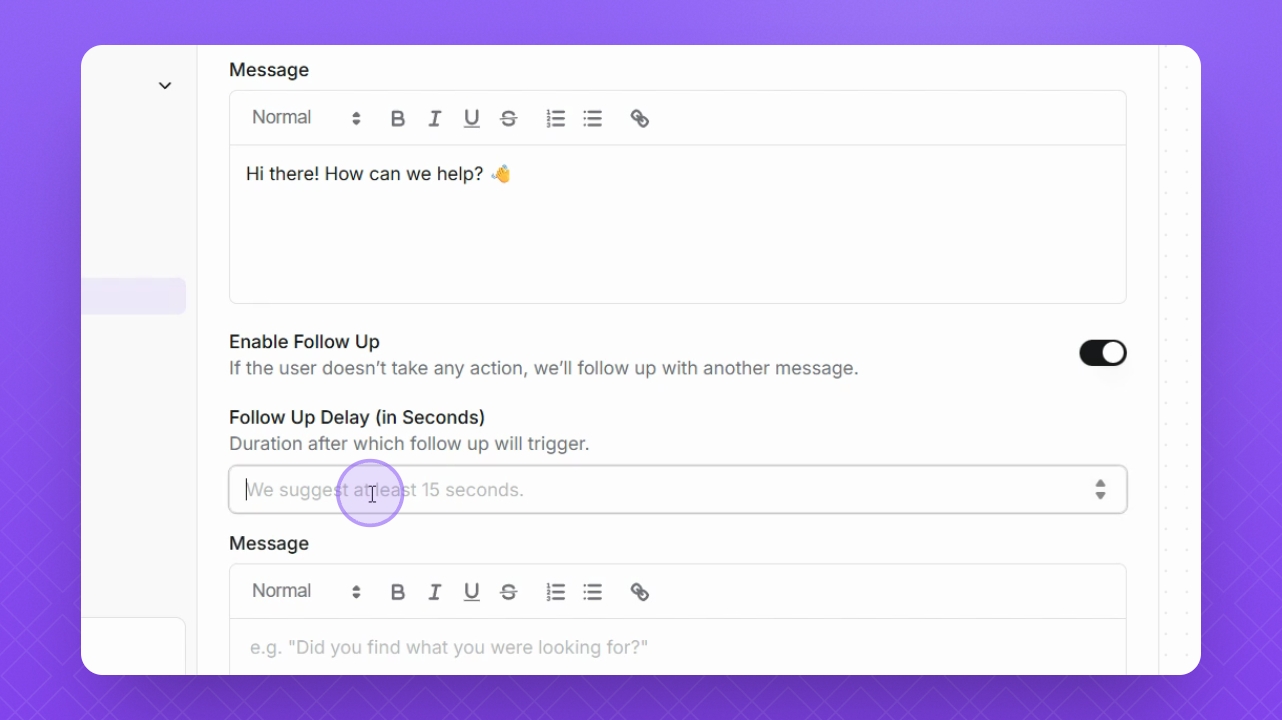
Step 9: Add Follow Up Message
You can also add a message for the follow up if needed.
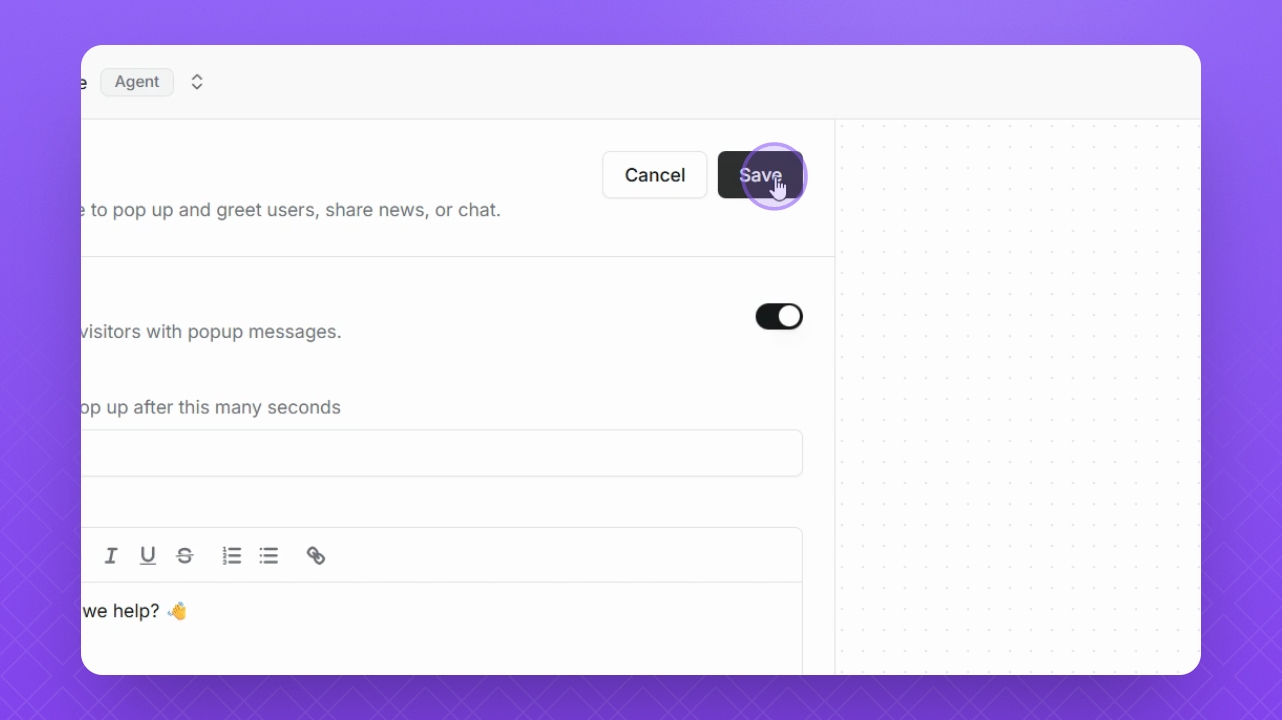
Step 10: Save Changes
Once you've added your message, be sure to click the Save button at the top to save your changes.
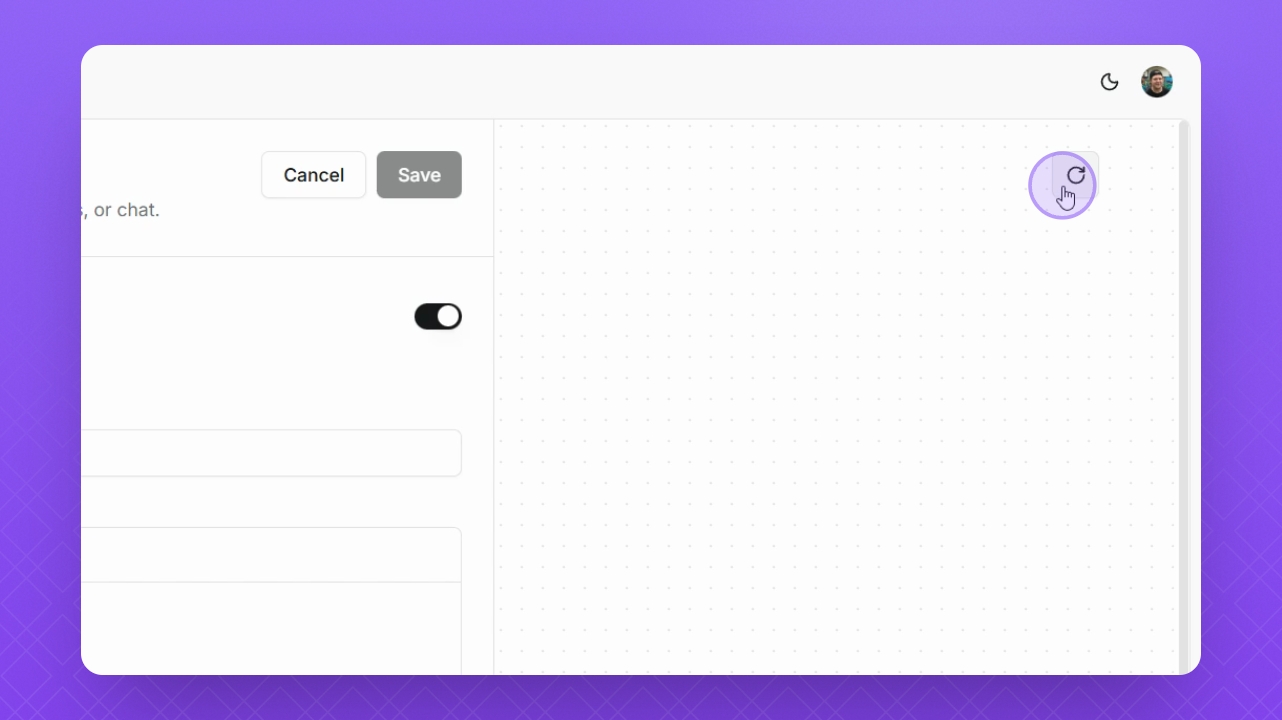
Step 11: Test Callout
Click the Refresh button in the top right corner to test your callout.
Step 12: Observe Callouts
Notice how the callouts appear above your widget, allowing users to interact with them.
