Let's do it together!
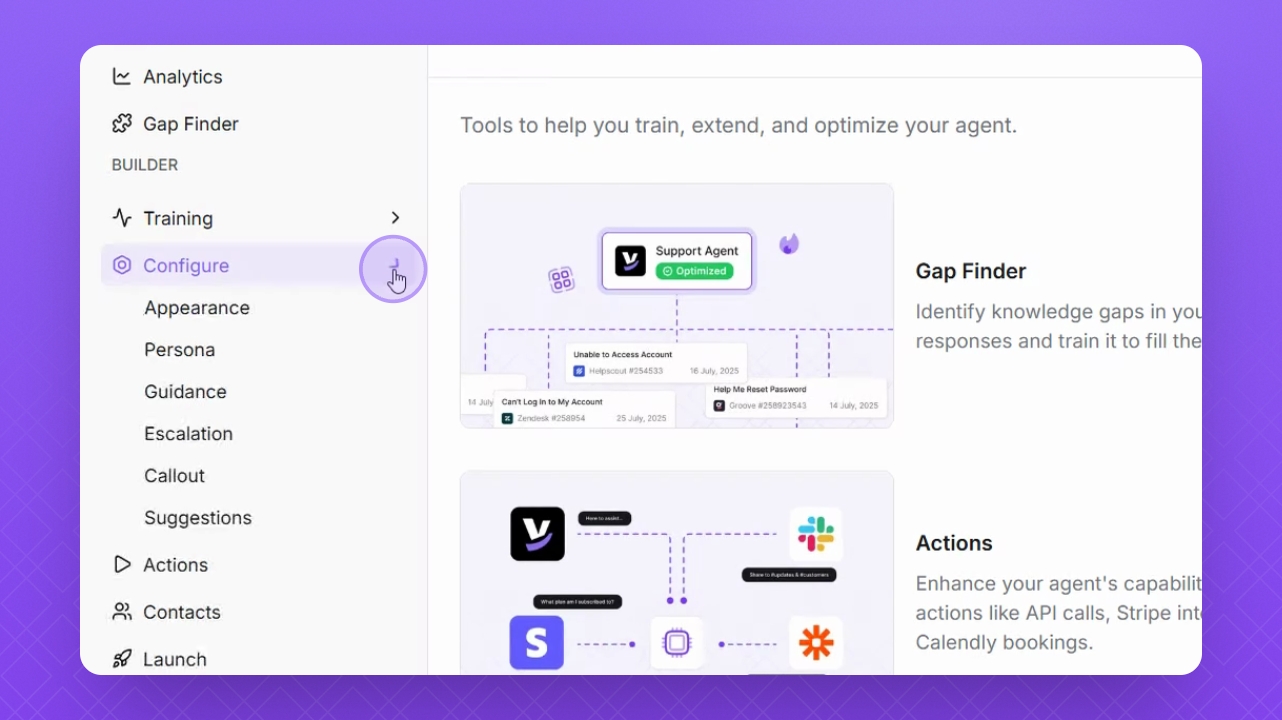
Step 1: Open Configuration
Navigate to Configure on the left side of the dashboard.
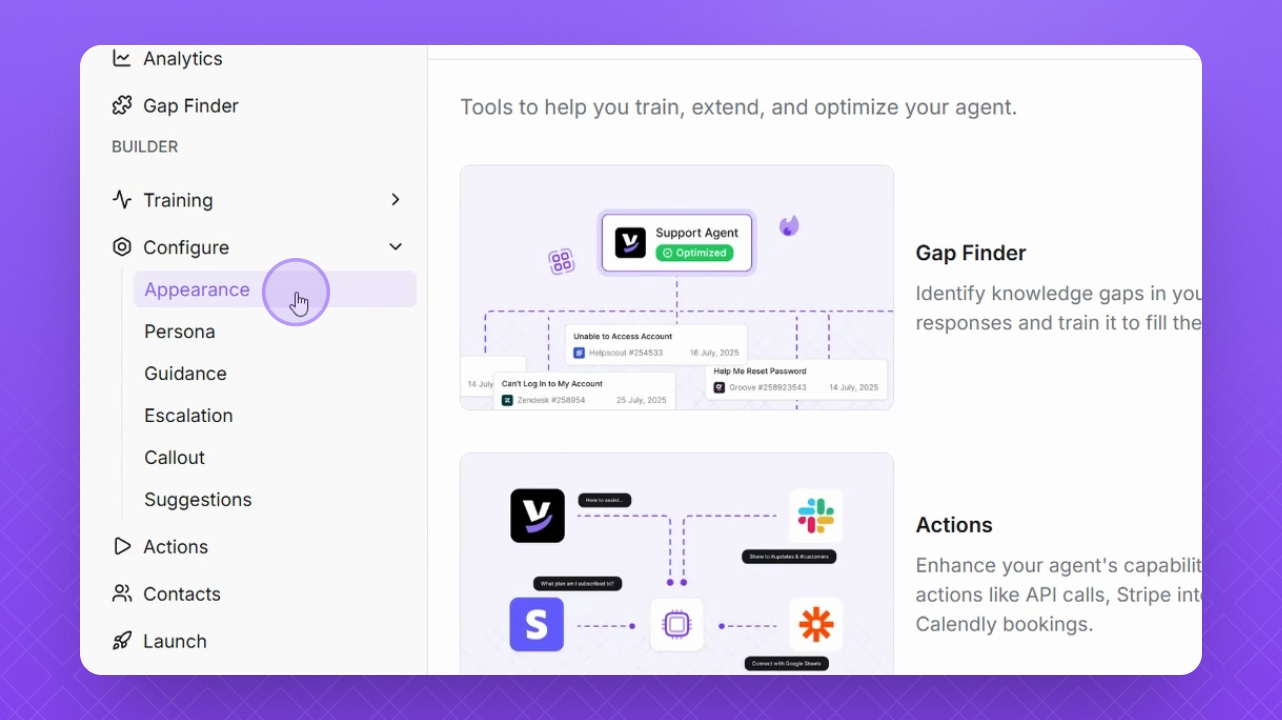
Step 2: Select Appearance
Select Appearance to begin customizing your Helply agent's look.
Step 3: Preview Changes
Keep an eye on the preview window on the right to see all your changes.

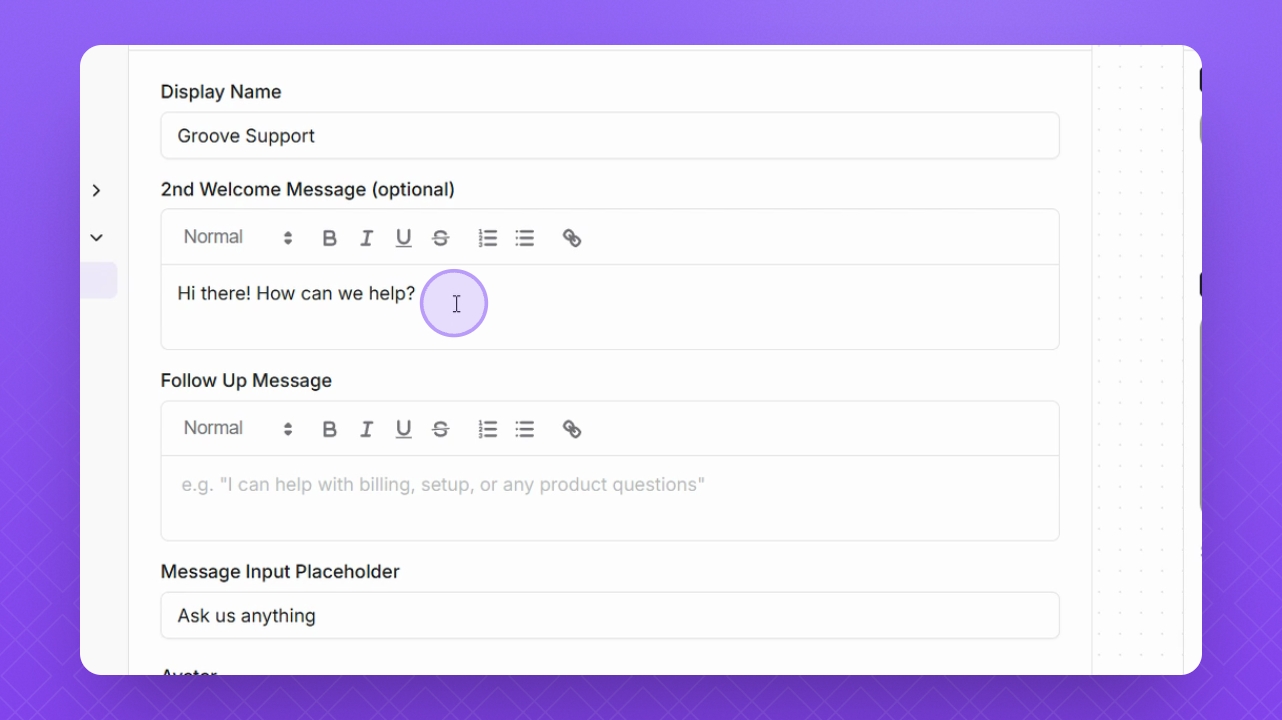
Step 4: Change Display Name
Change the display name in the provided field if needed.
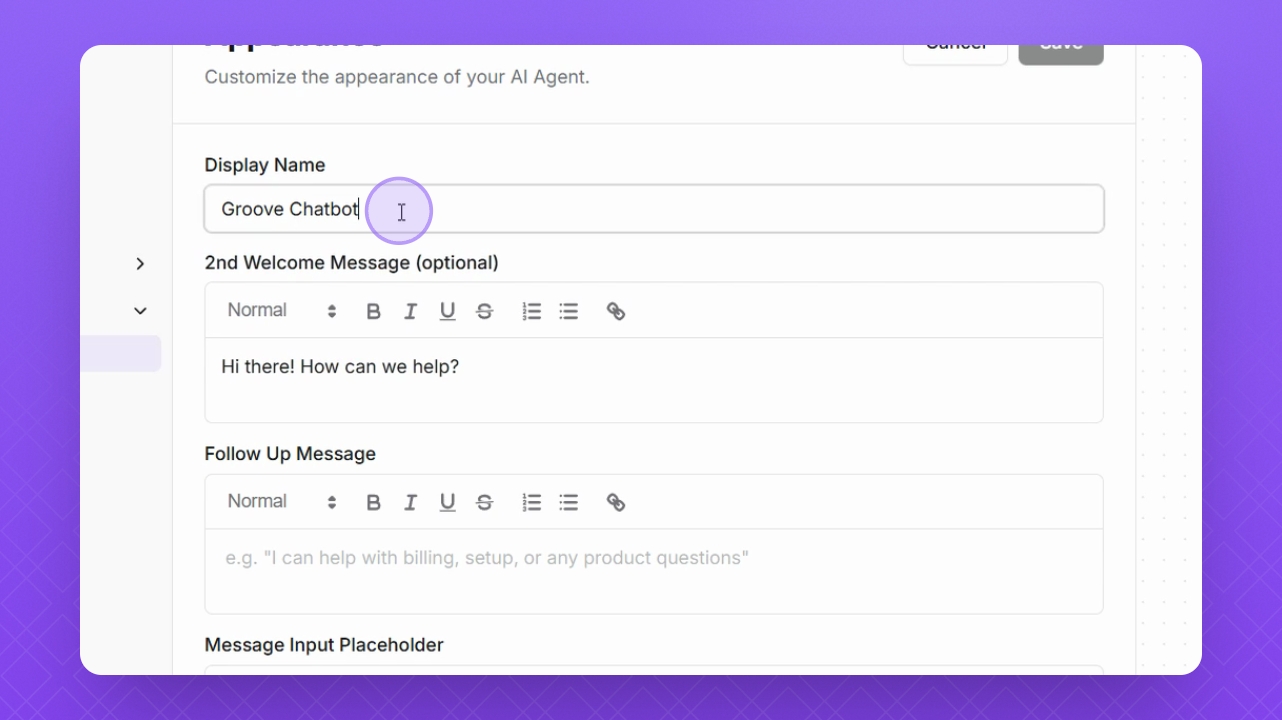
Step 5: Set Welcome Message
Adjust the welcome message and add emojis if necessary using the Format toolbar.
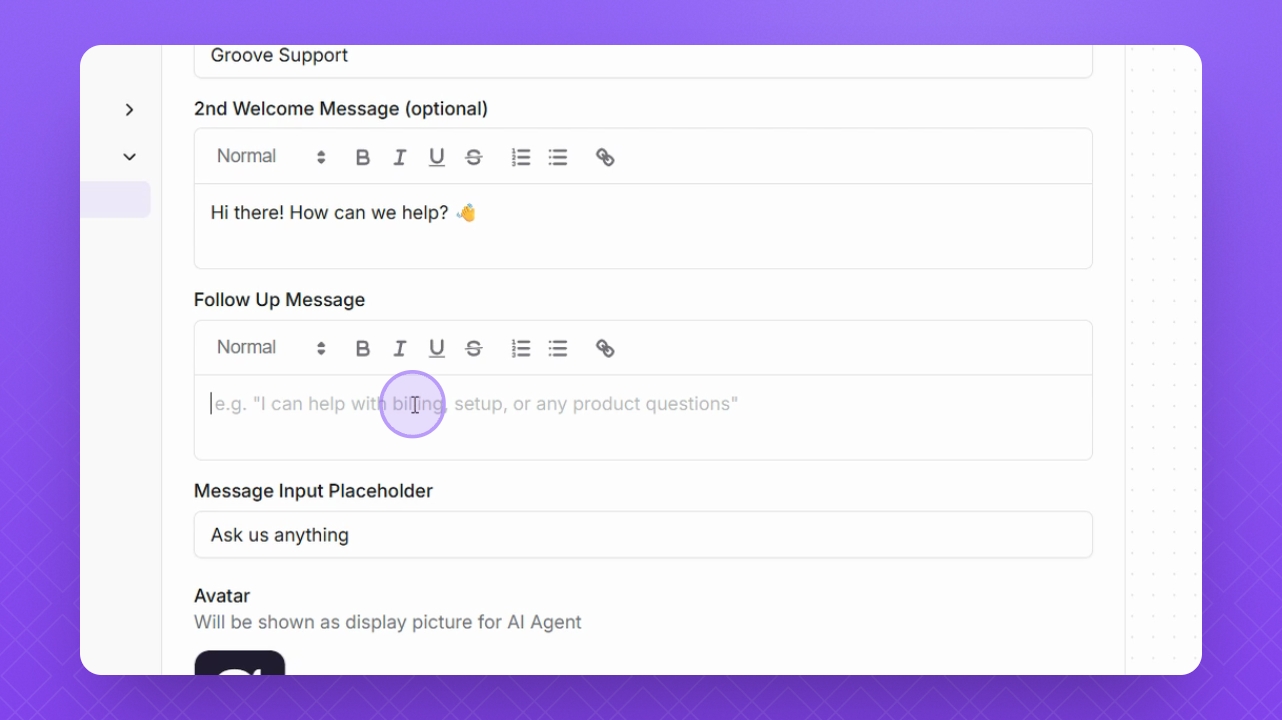
Step 6: Add Follow Up Message
Add a follow up message if you want it to appear after your welcome message.
Step 7: Customize Image Input
Set the Image Input placeholder text that appears before user input in the widget.
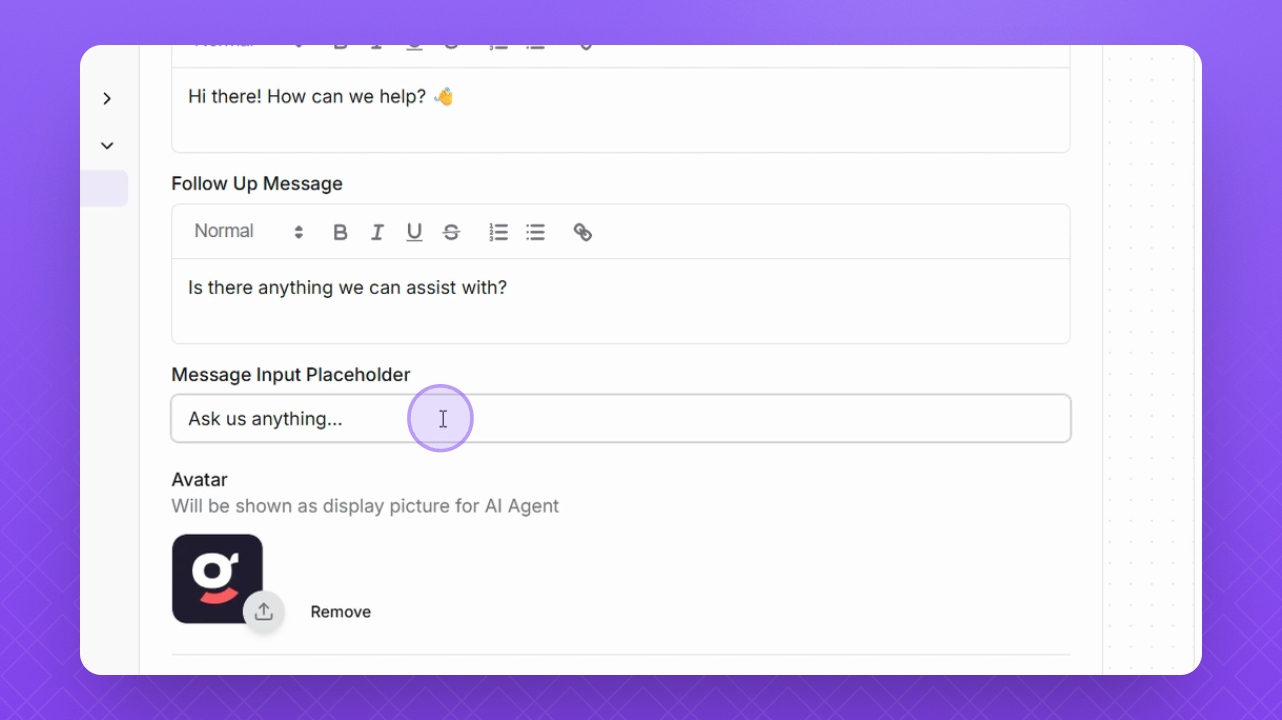
Step 8: Upload Avatar
Click the Upload button to add or remove your avatar image.
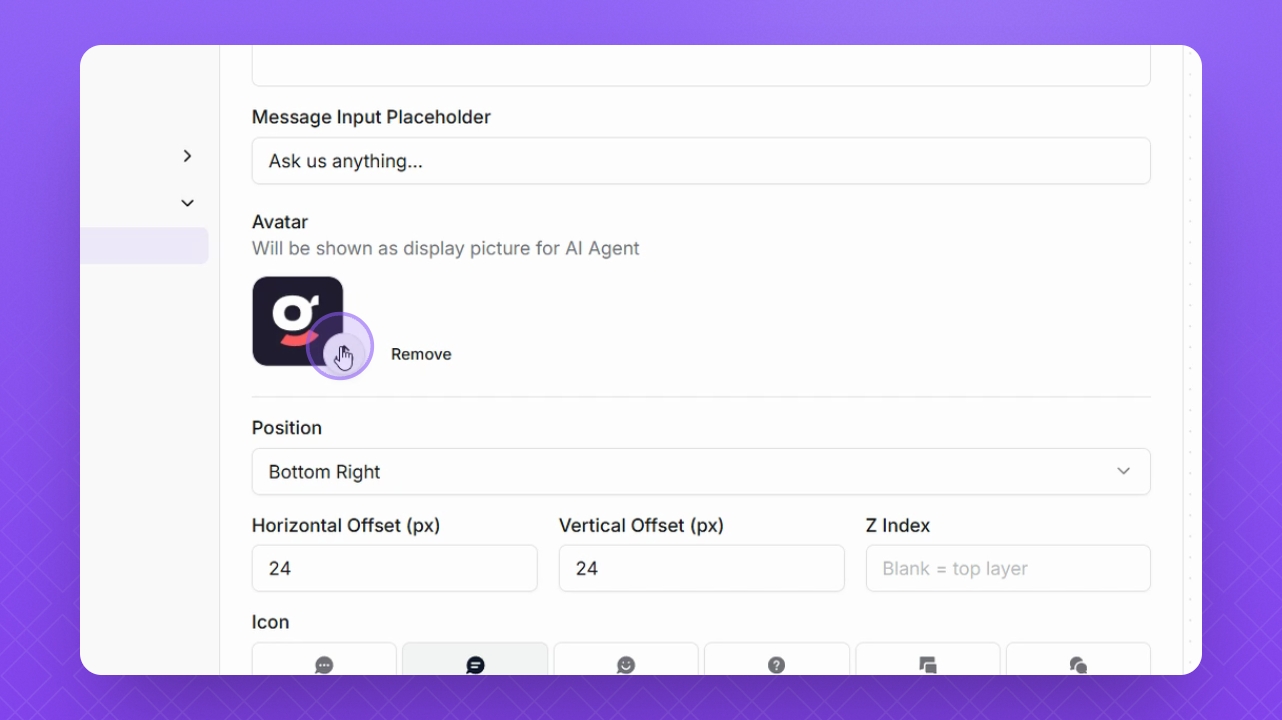
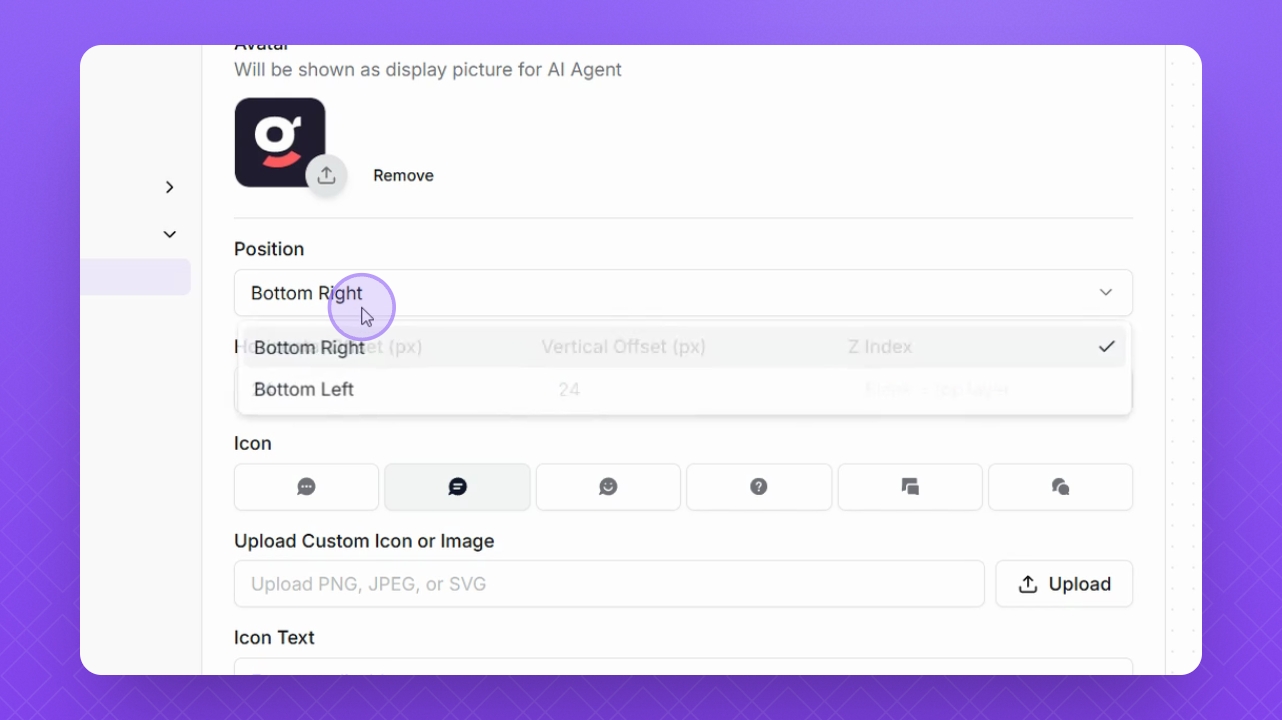
Step 9: Adjust Position
Change the Position of the widget from bottom left to bottom right of the screen.
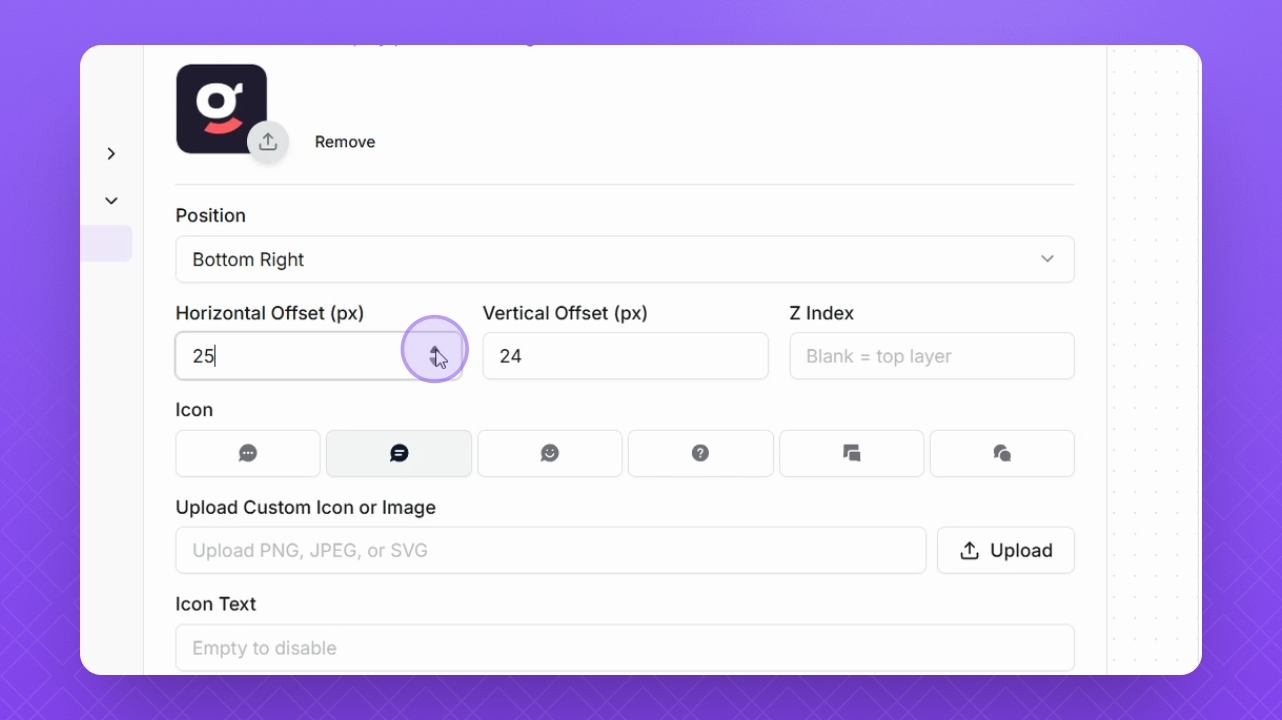
Step 10: Set Offset
Adjust the horizontal and vertical offset of the widget on your website.
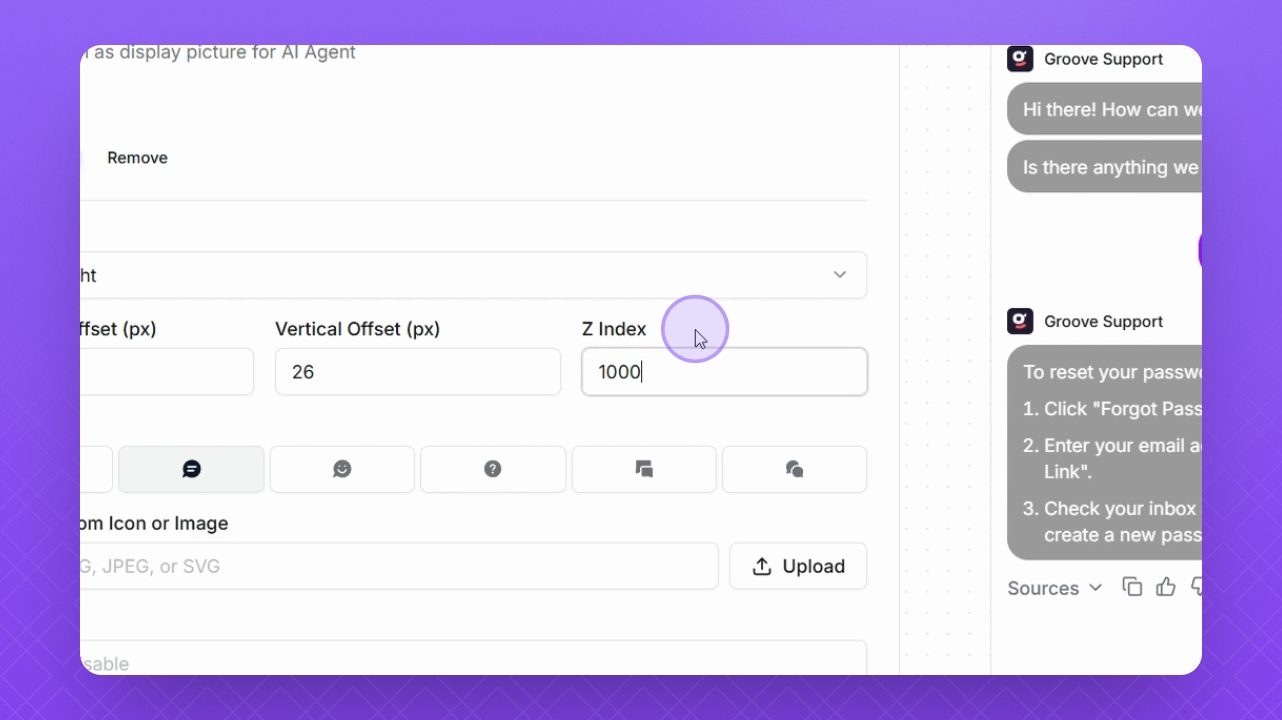
Step 11: Configure Z Index
Change the Z index to adjust the layering of the widget.
Step 12: Select Icon Image
Select or upload a custom image for the widget icon.
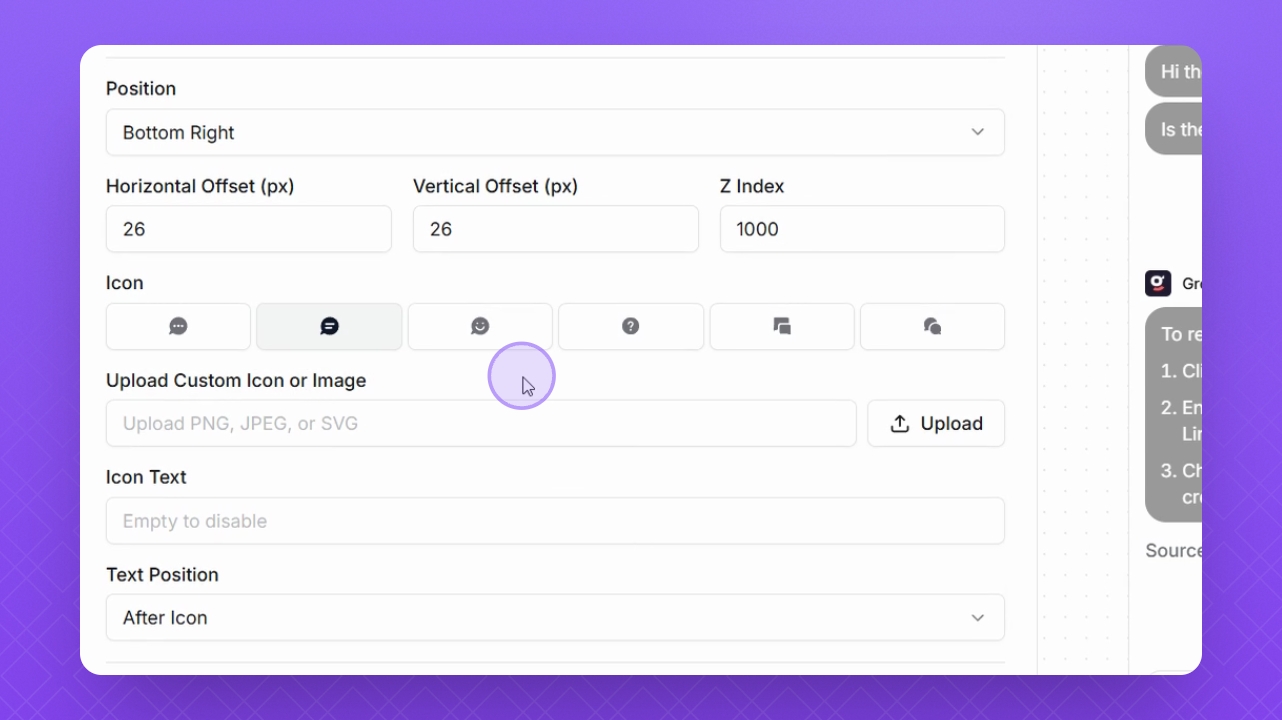
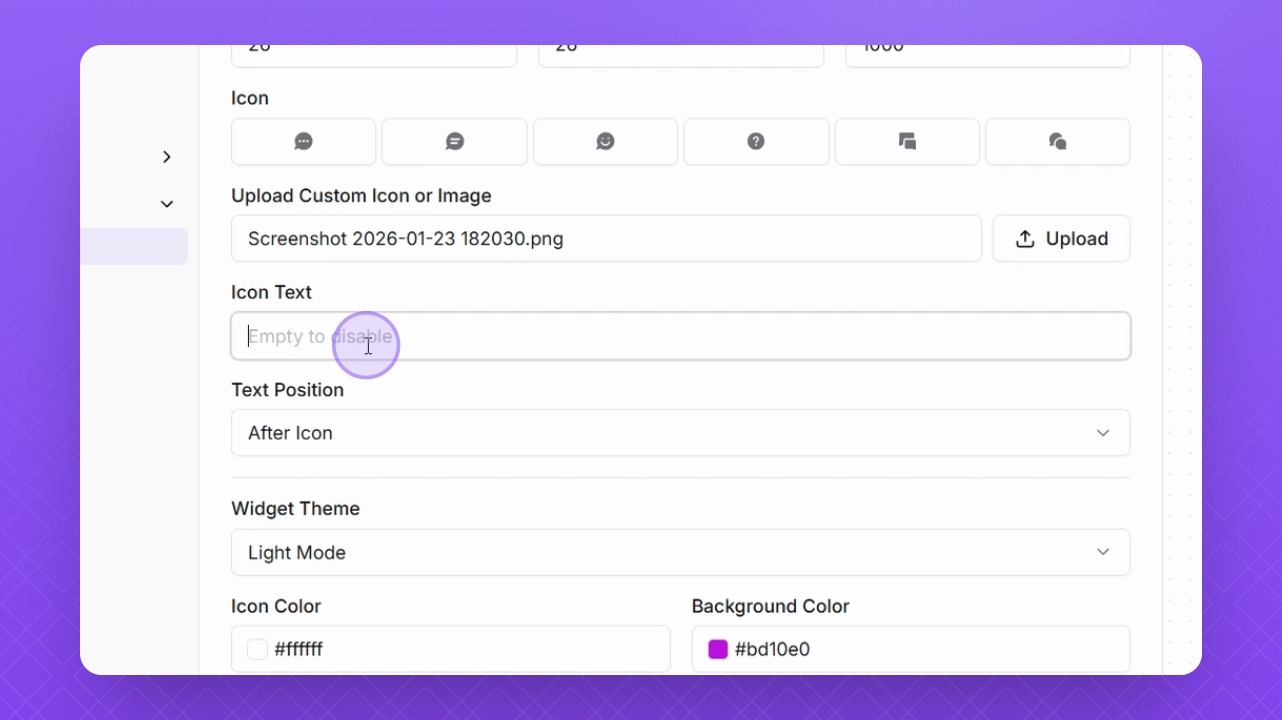
Step 13: Edit Icon Text
Adjust or add text in the widget icon and set its position.
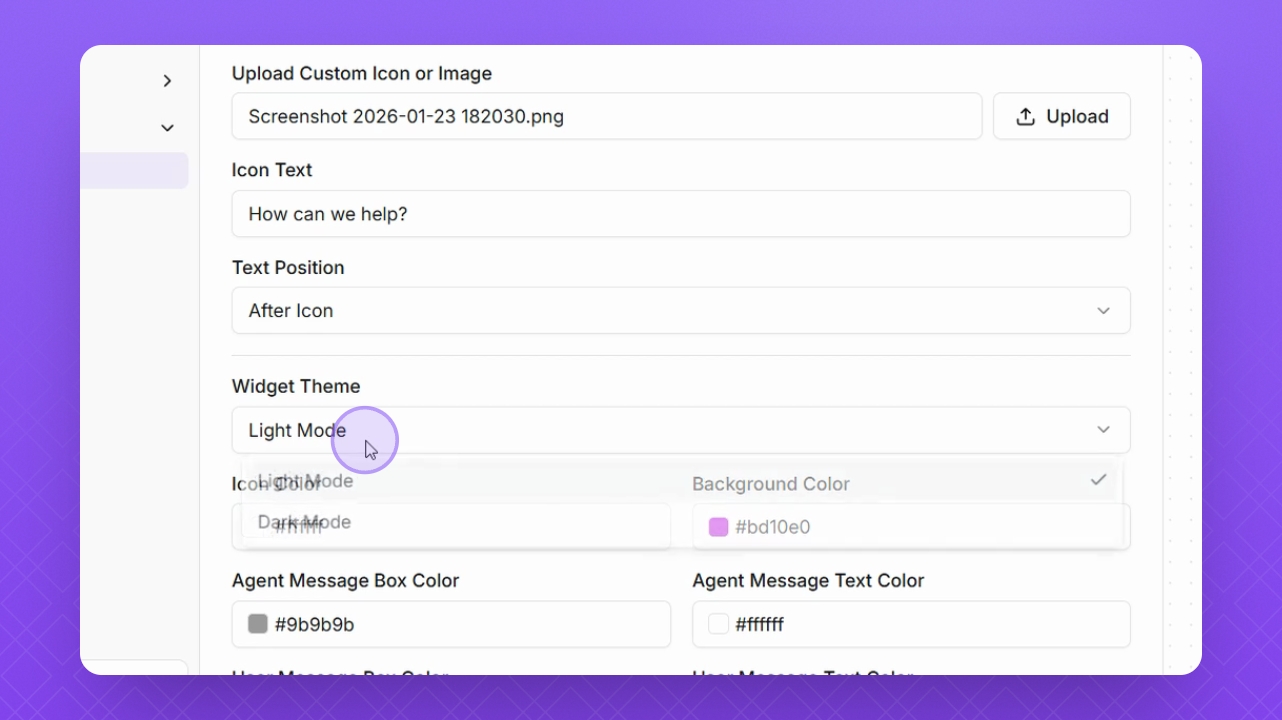
Step 14: Change Widget Theme
Set the widget theme to Light or Dark mode for customers.
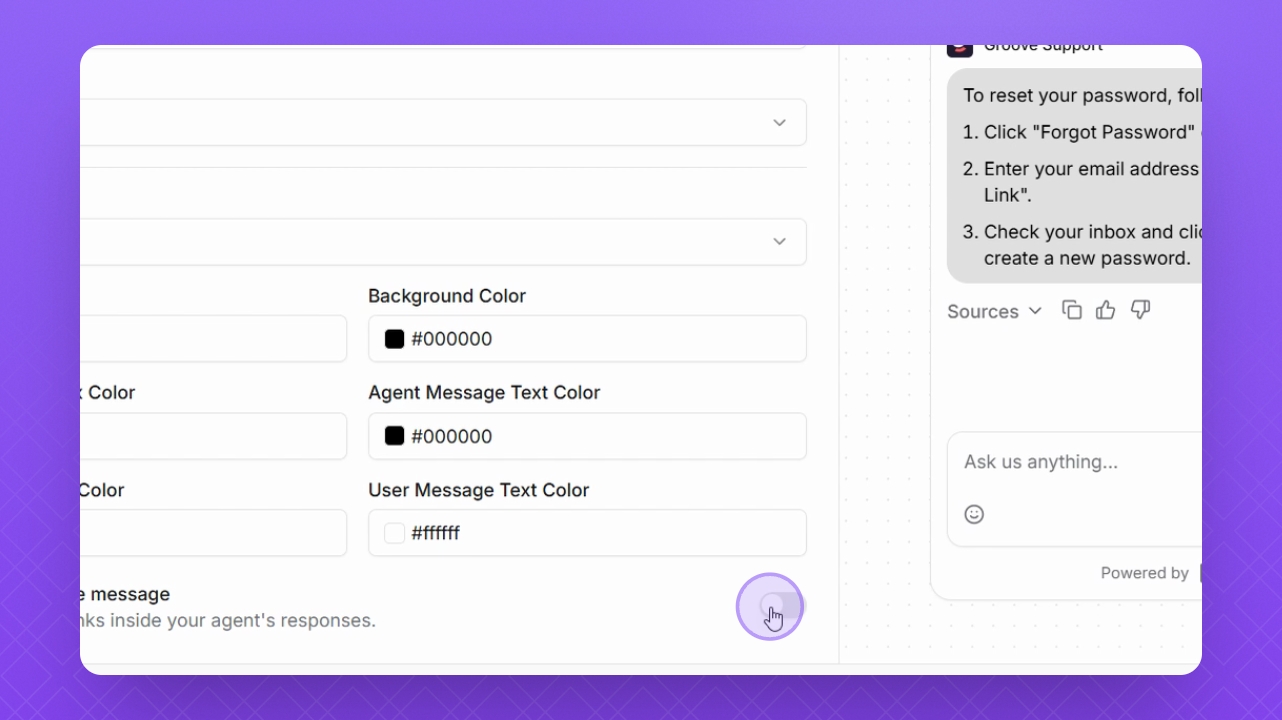
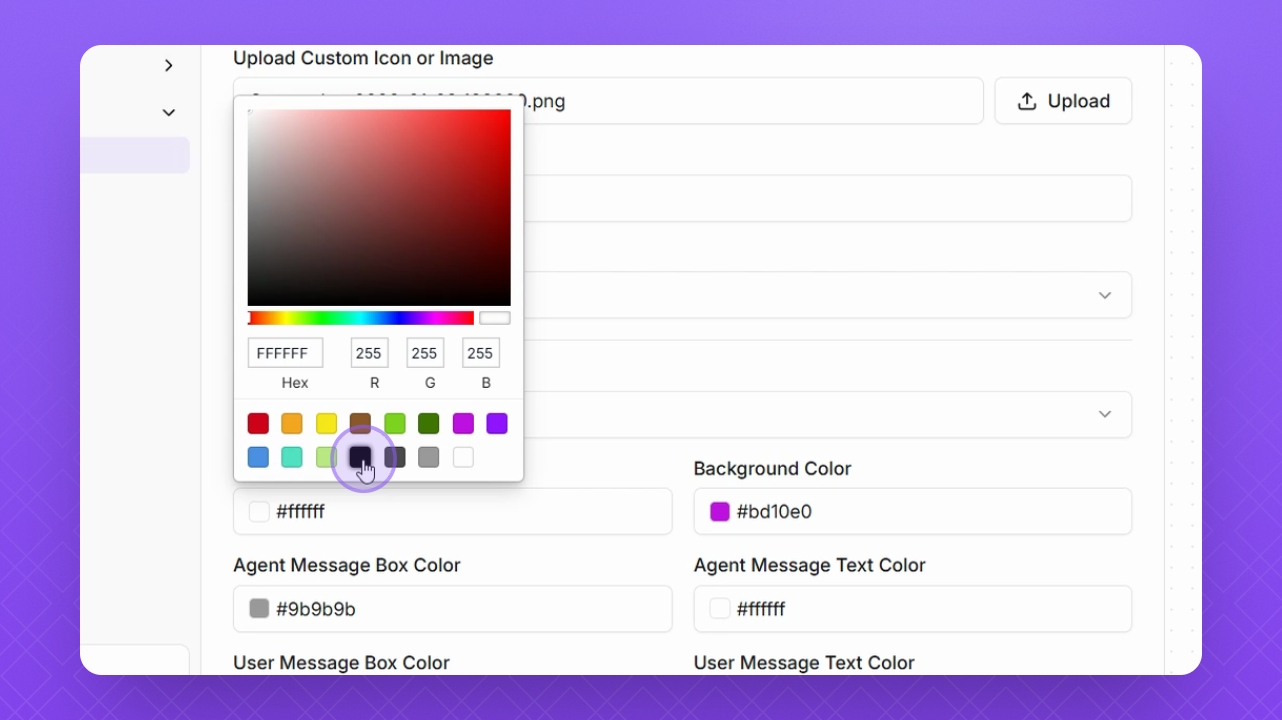
Step 15: Adjust Colors
Change the icon color, background color, and message box colors as needed.
Step 16: Show Sources Toggle
Click the toggle to display reference links in the agent's responses.