Let's do it together!
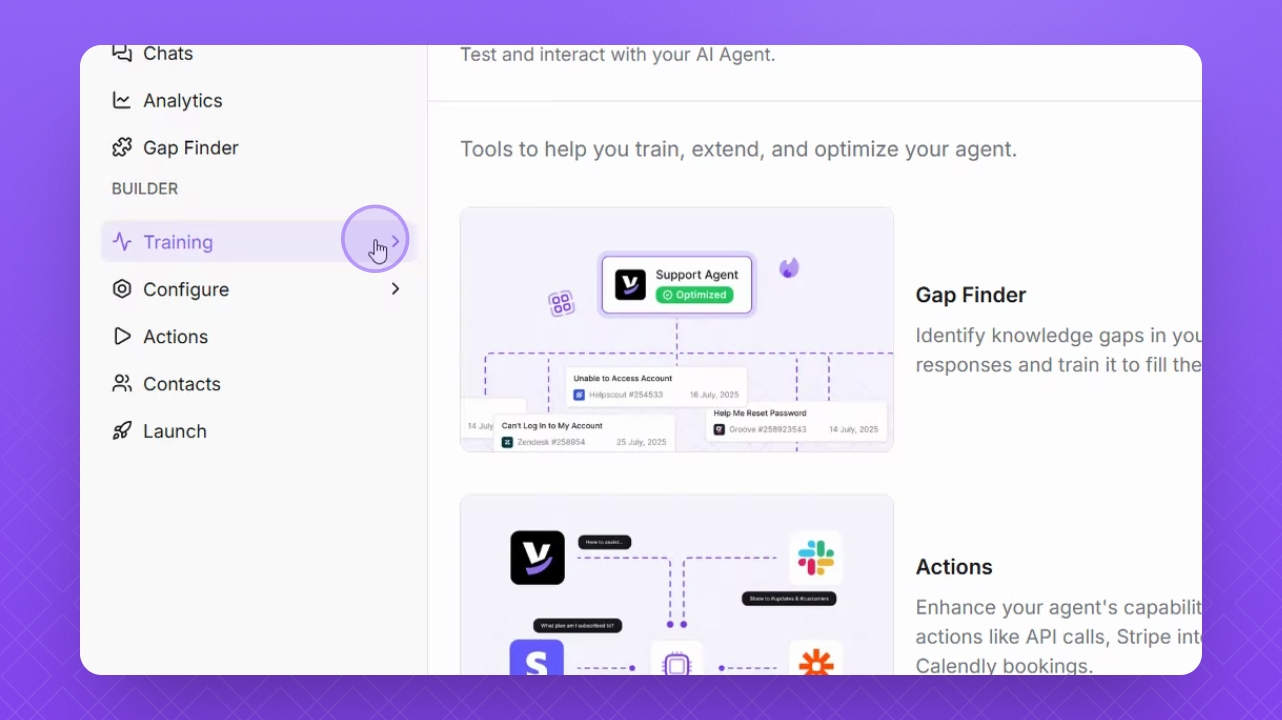
Step 1: Navigate to Training
Click on Training in the left menu to access the training section.
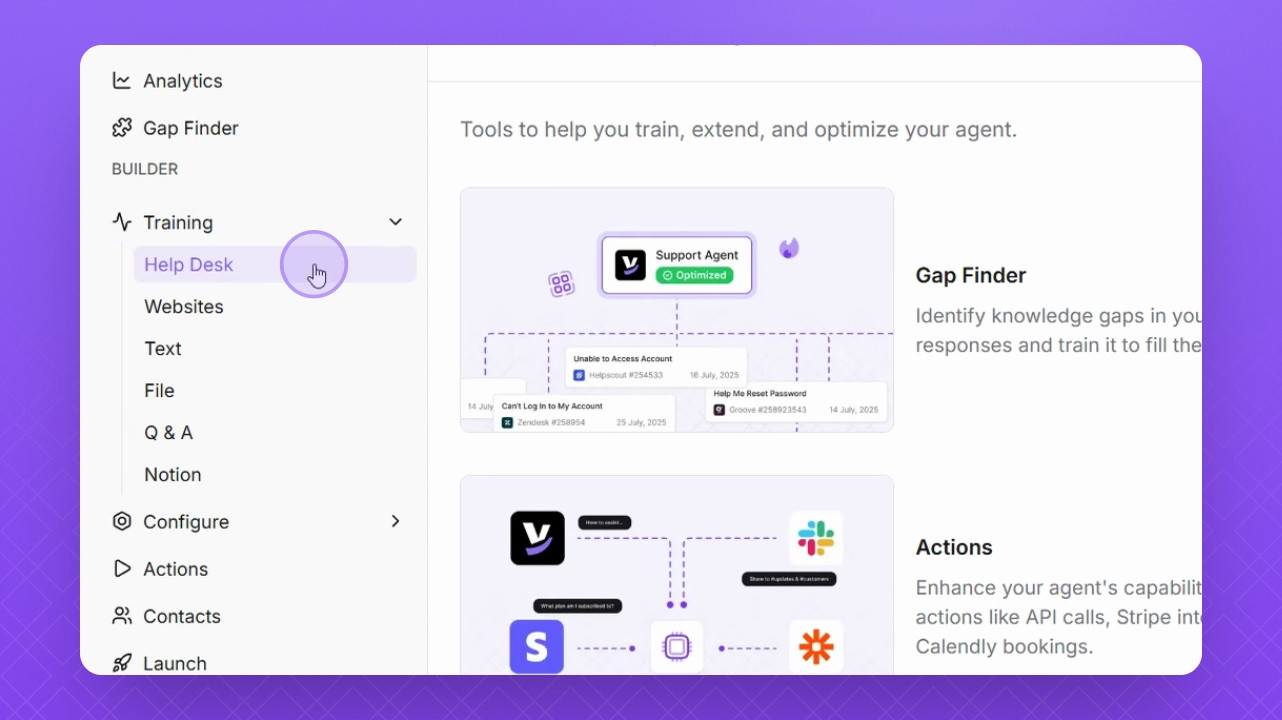
Step 2: Select Help Desk
Choose Help Desk from the available options to proceed with the integration.
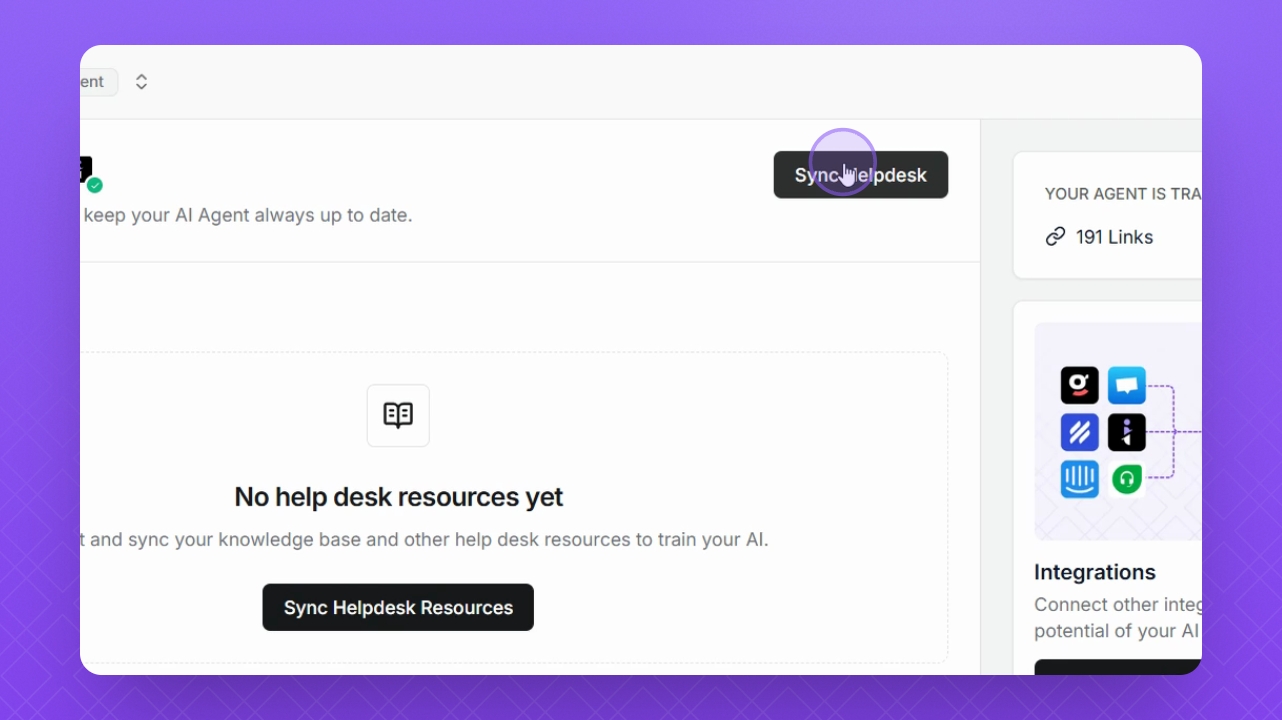
Step 3: Sync Help Desk
Click the Sync Help Desk button to initiate the import process.
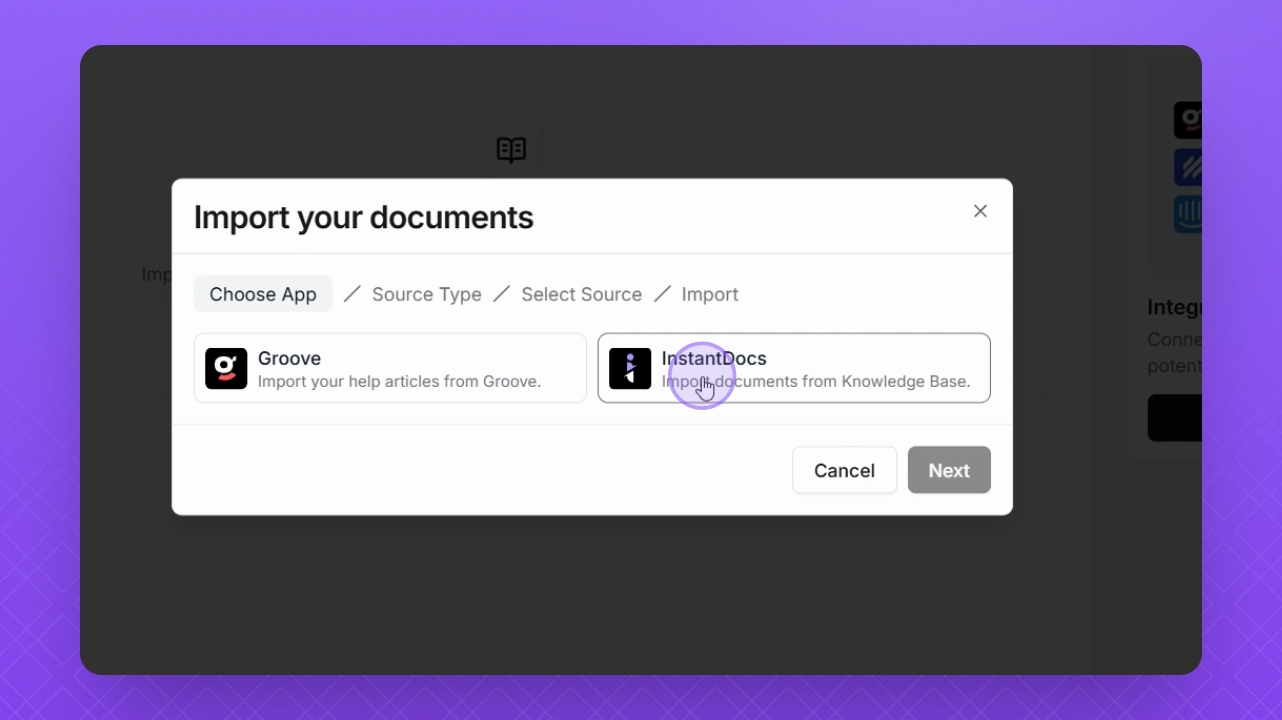
Step 4: Choose Platform
Select the Help Desk platform from which you want to import data.
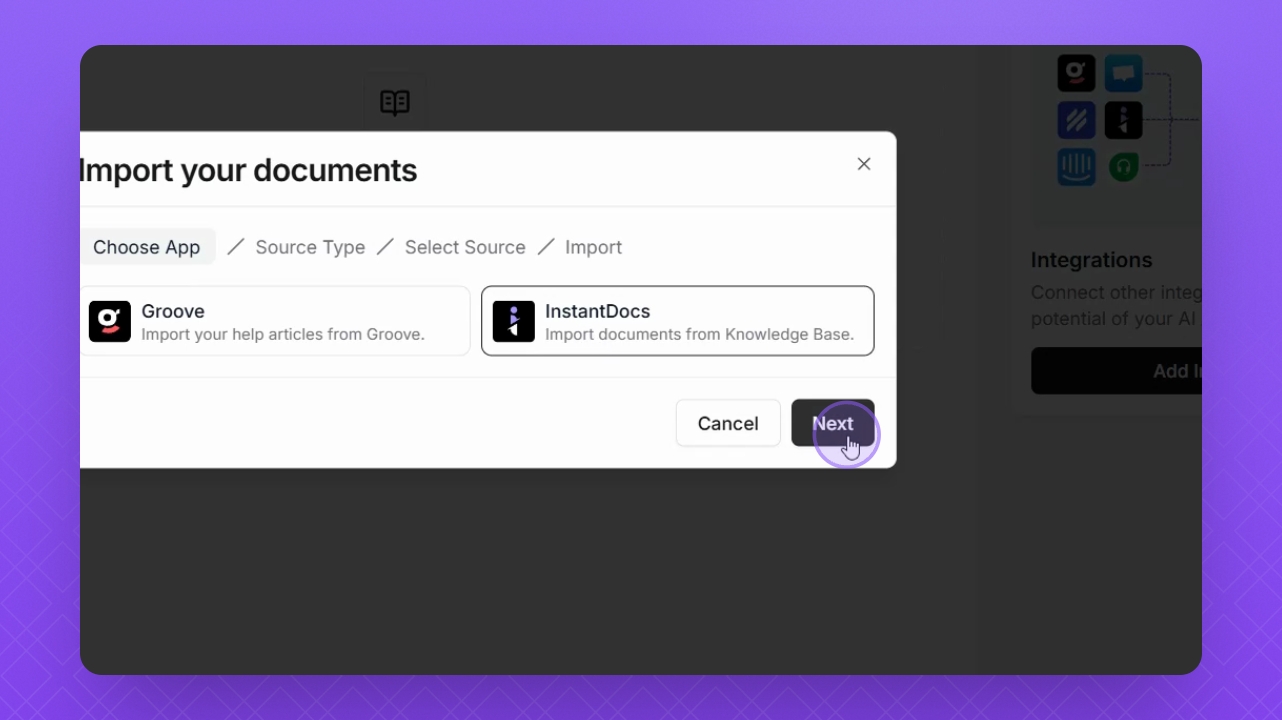
Step 5: Proceed to Next
Click the Next button to continue with the integration.
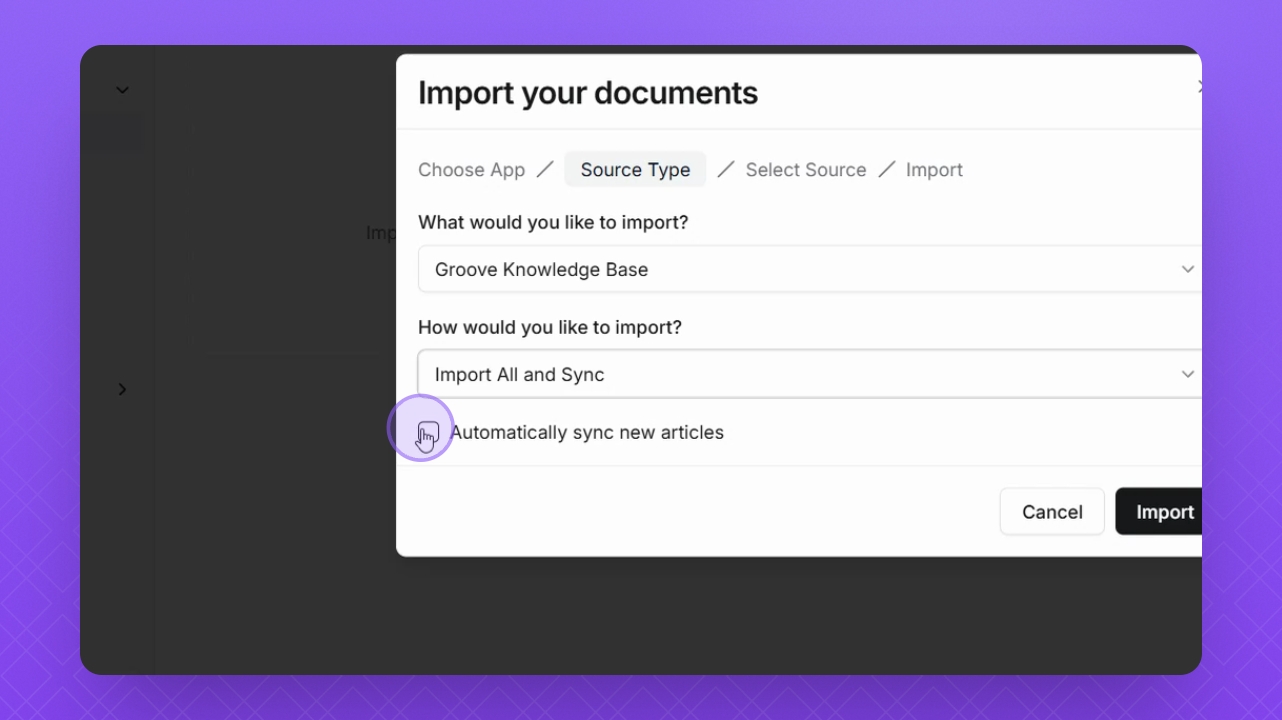
Step 6: Select source
Choose the desired source to import from the dropdown menu.
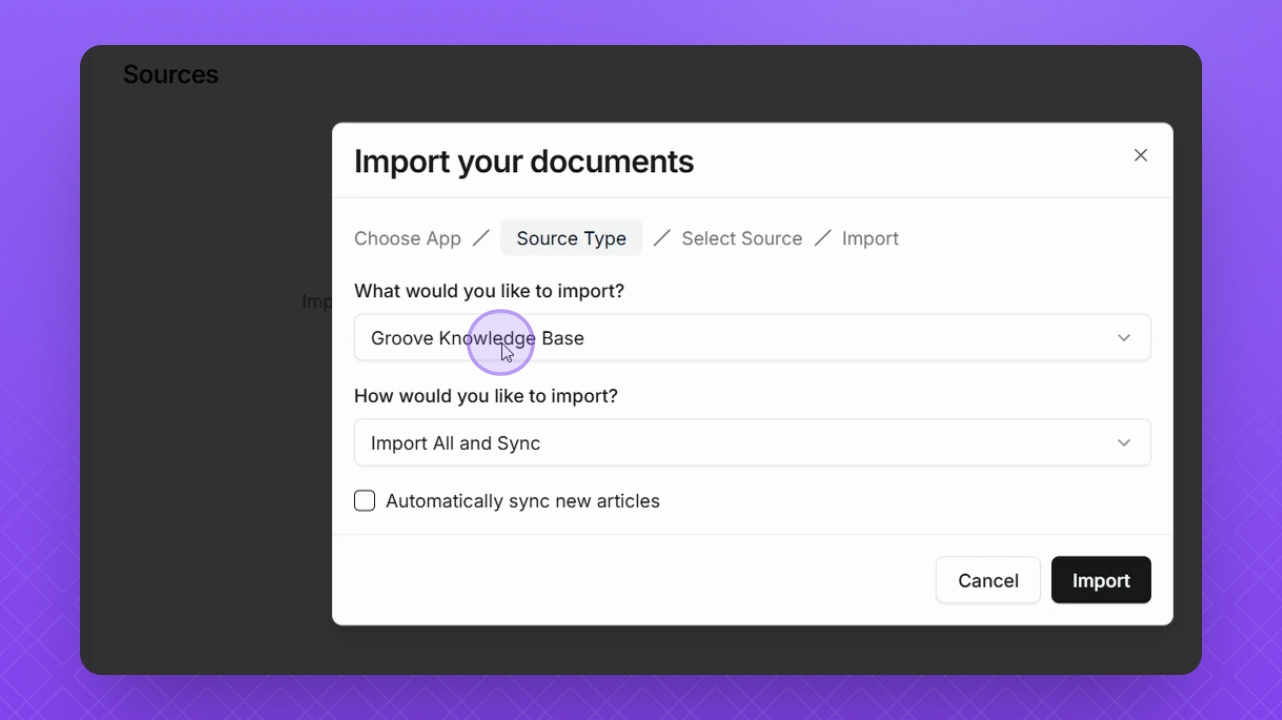
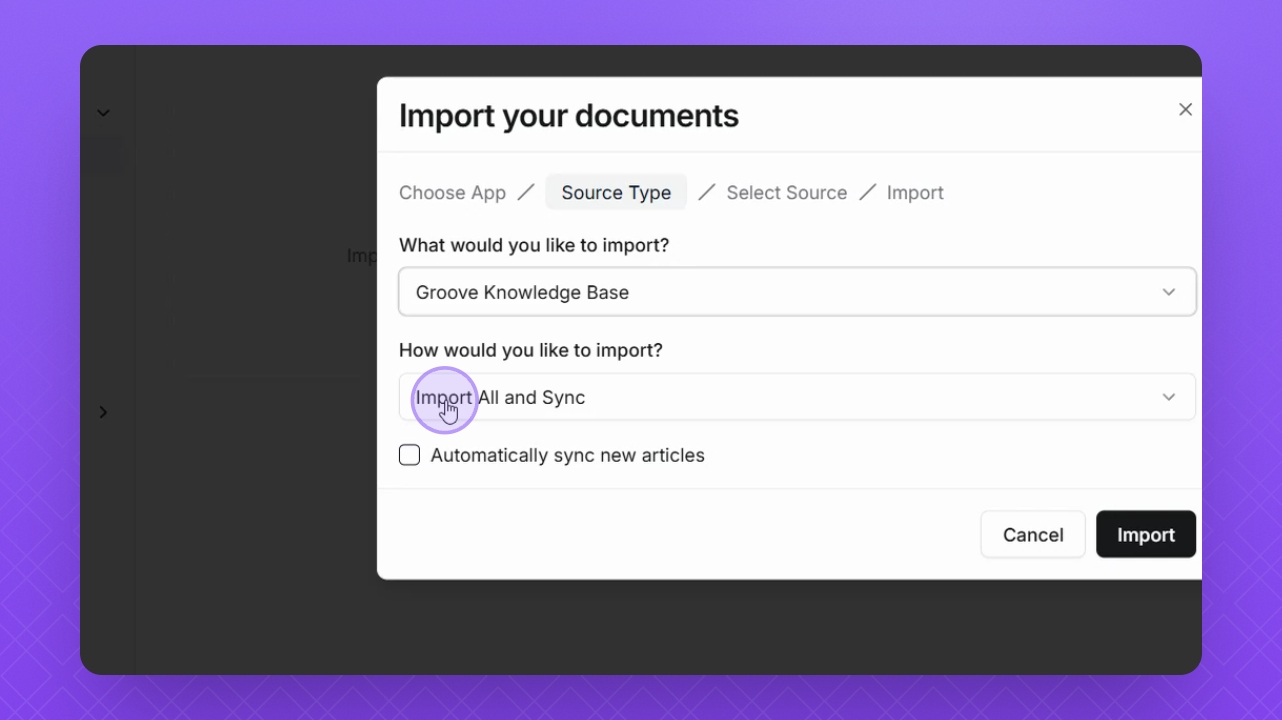
Step 7: Import Sources
Decide whether to import all sources or select specific ones using the dropdown.
Step 8: Enable Auto Sync
Check the Automatically Sync checkbox to keep your articles updated with the Help Desk.
Step 9: Click Import
Finally, click the Import button to start the data import process.

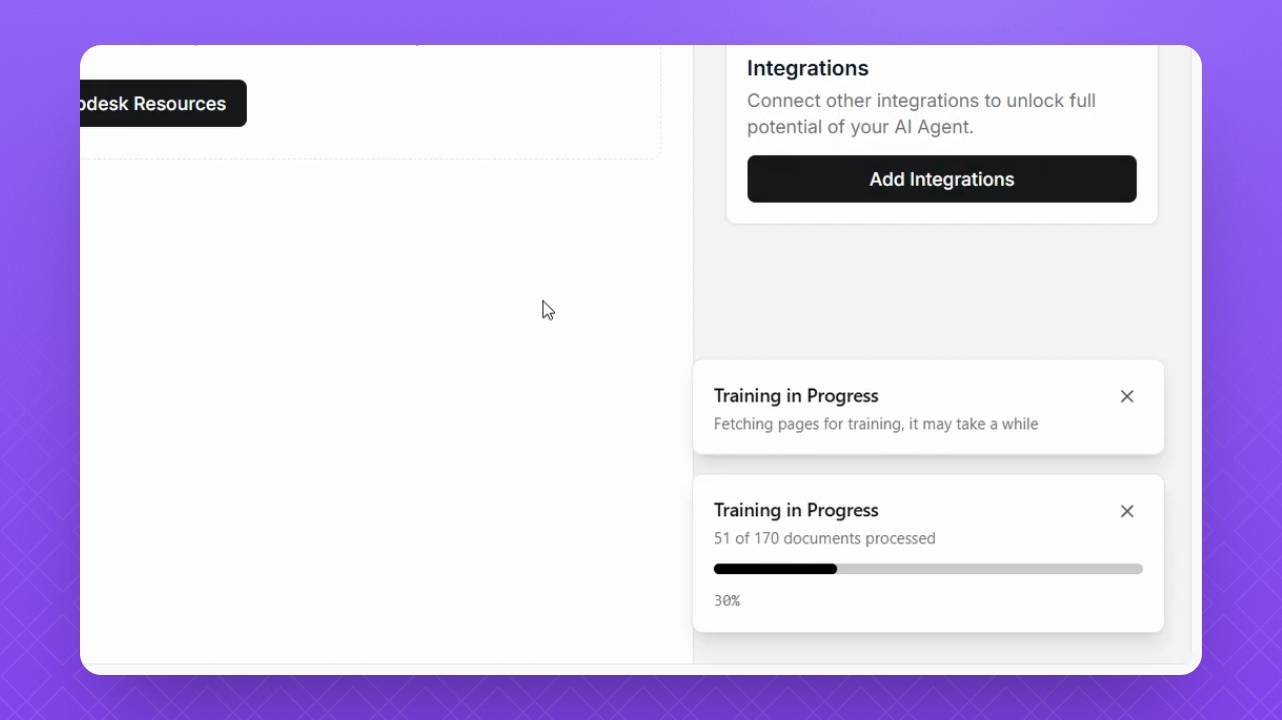
Step 10: Monitor Progress
View the import progress in the bottom right corner of the screen.
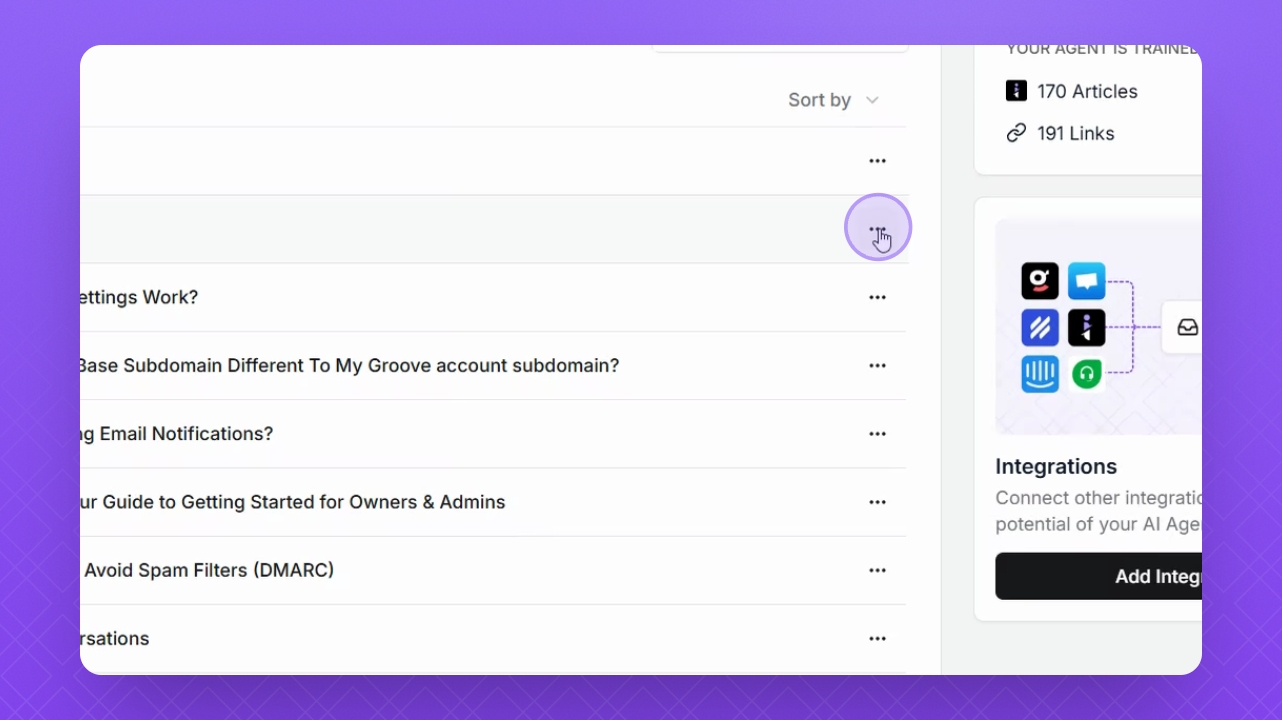
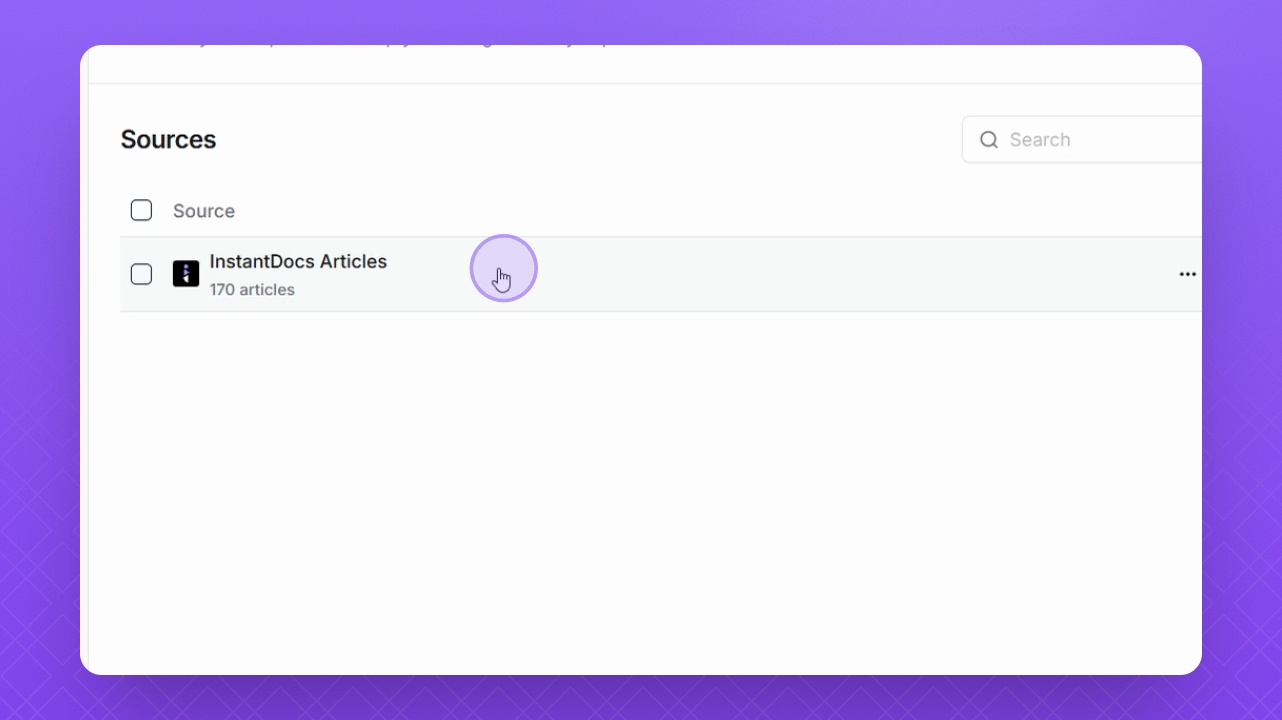
Step 11: Manage Imported Data
After import, select the Sources in the sources list below to manage your imported data.
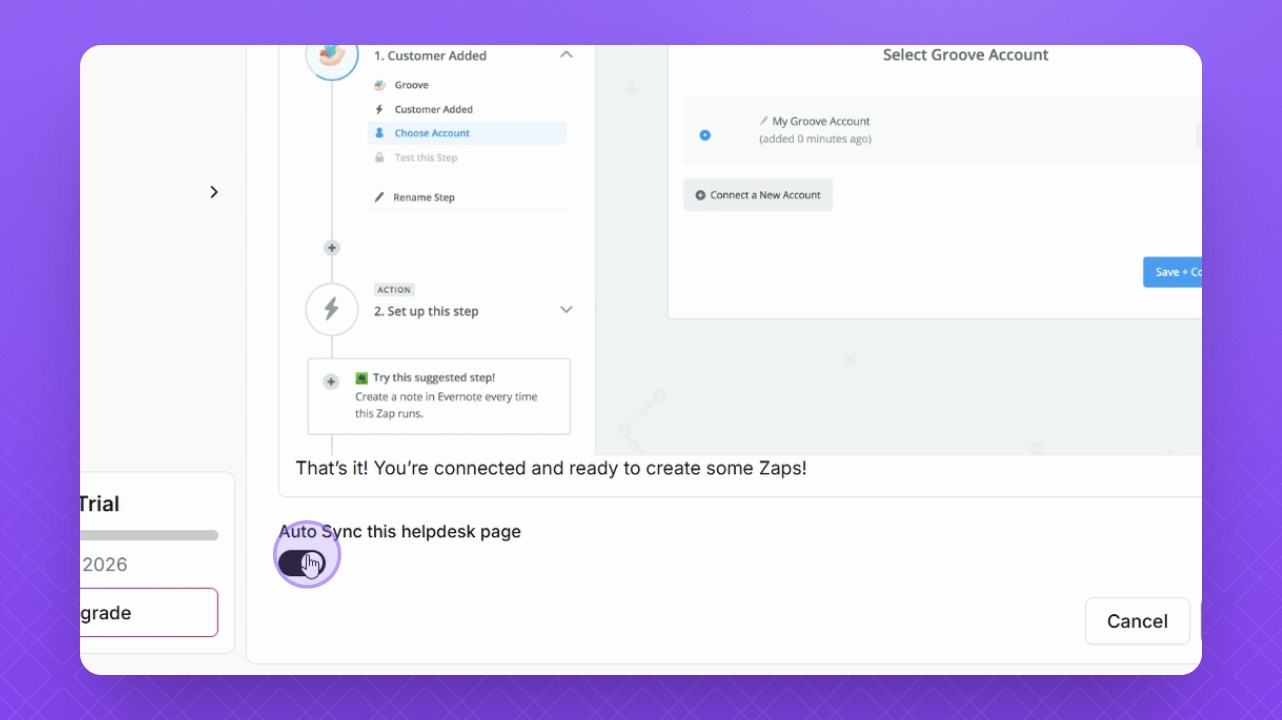
Step 12: Enable Auto Sync
Ensure that Auto Sync is enabled or disabled for specific articles via the checkbox.
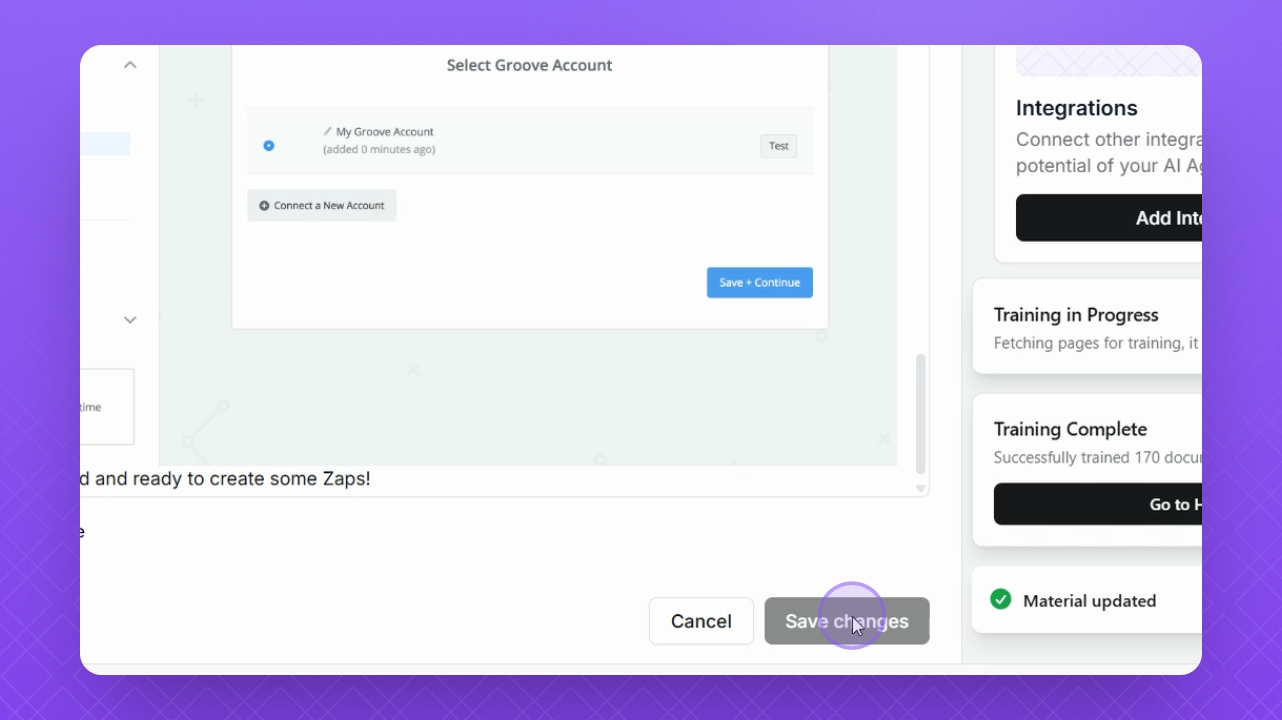
Step 13: Save Changes
After making changes, click Save Changes at the bottom right.
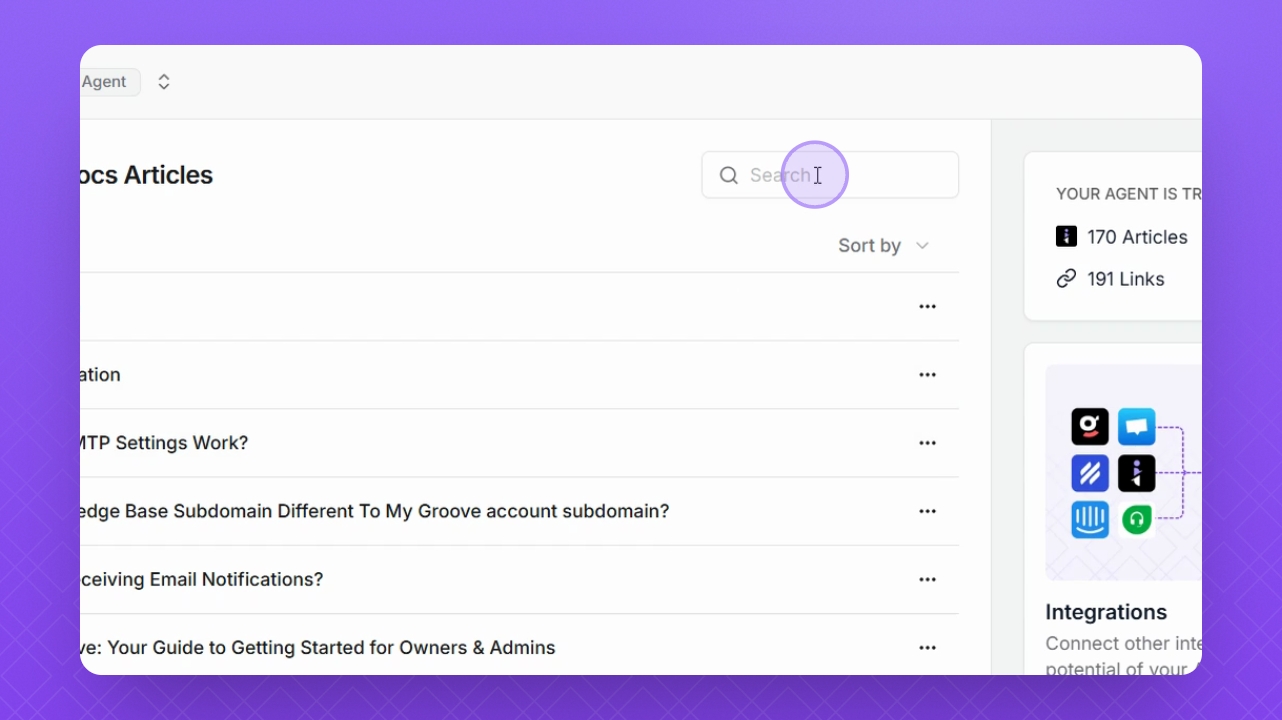
Step 14: Filter Data
Use the Search bar or Filter button to filter your imported data effectively.
Step 15: Edit or Delete Data
Select the three dots for the source material to Edit or Delete it as needed.